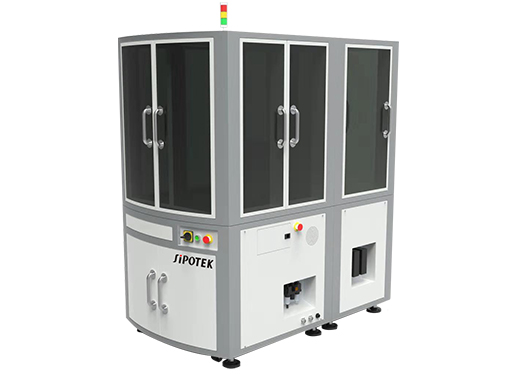
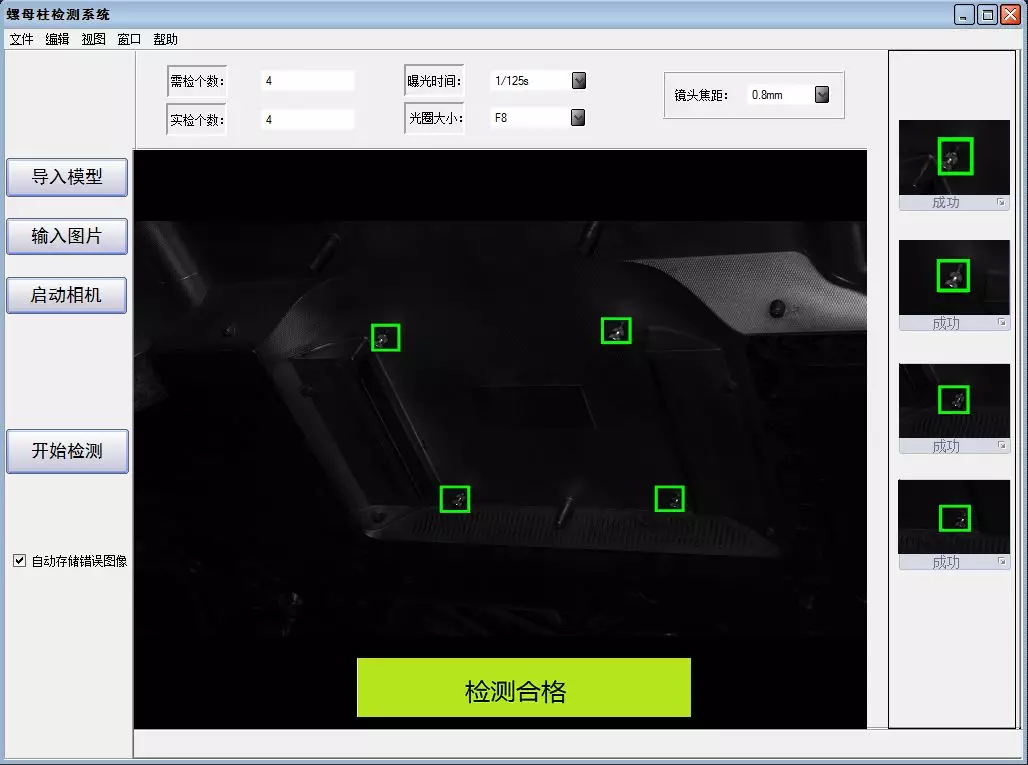
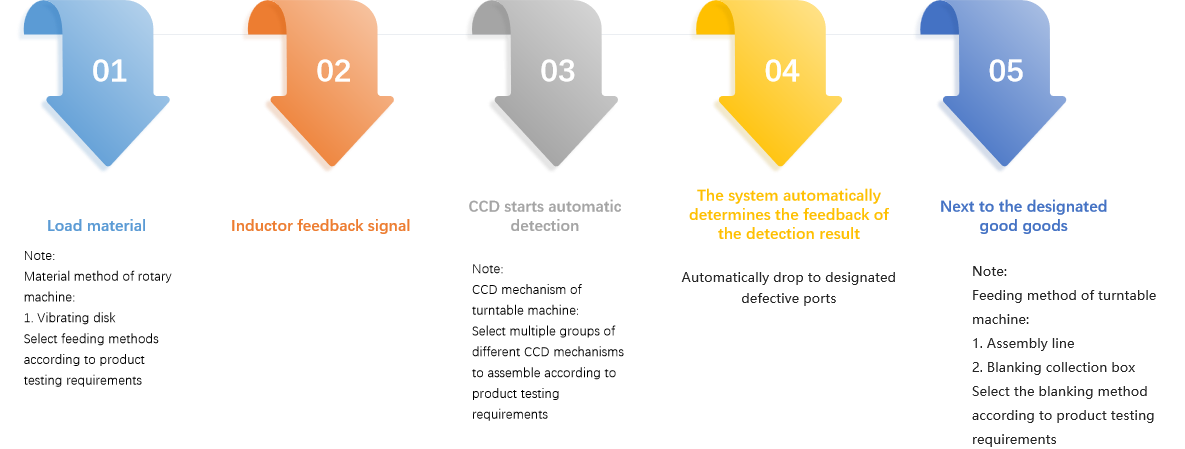
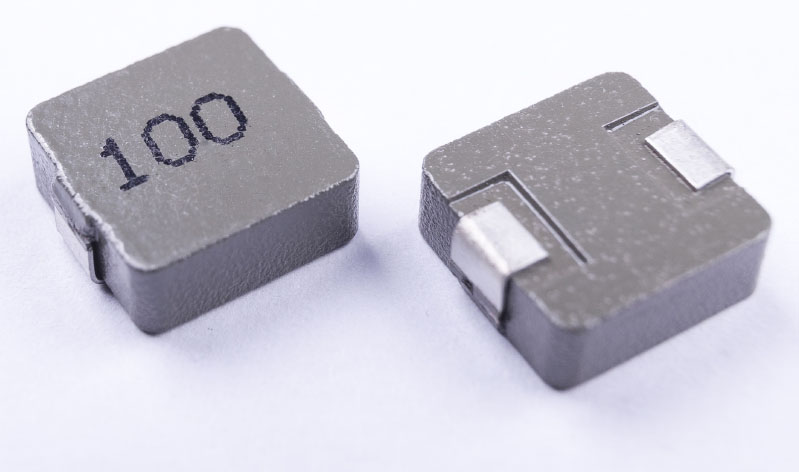
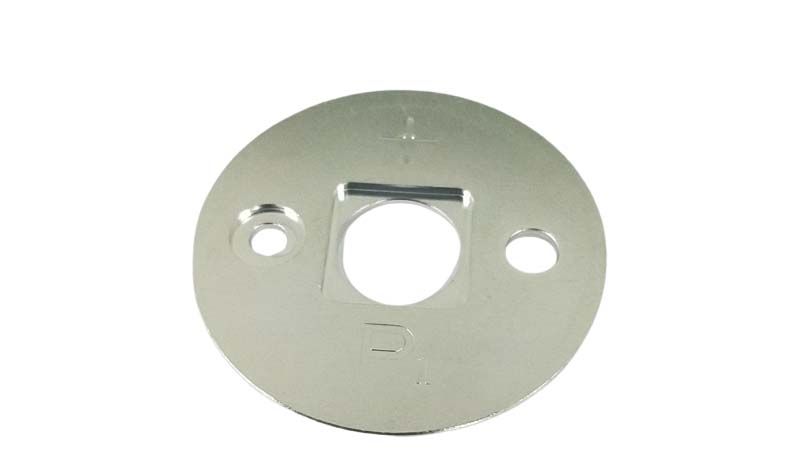
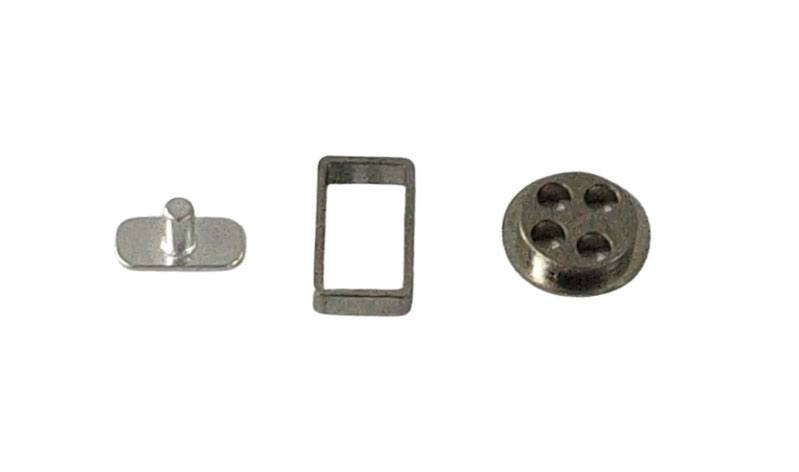
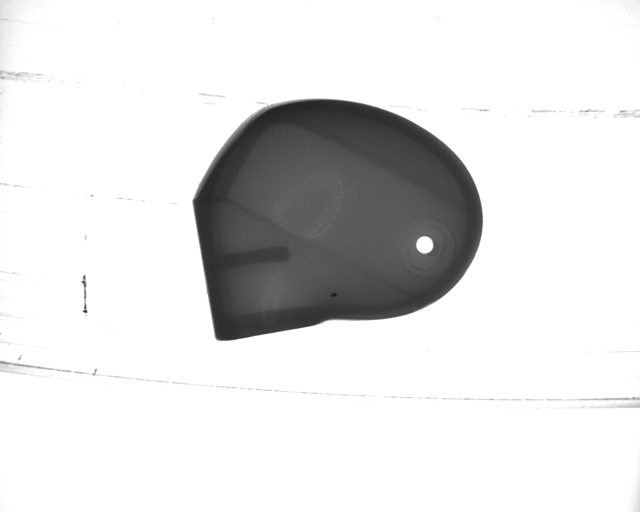
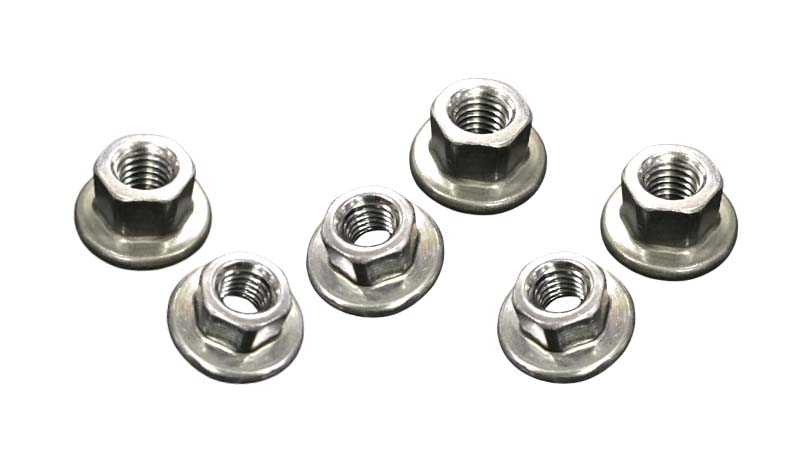
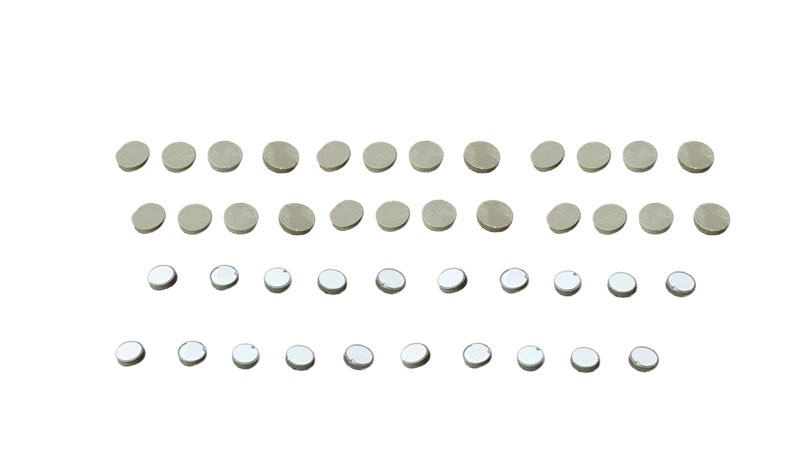
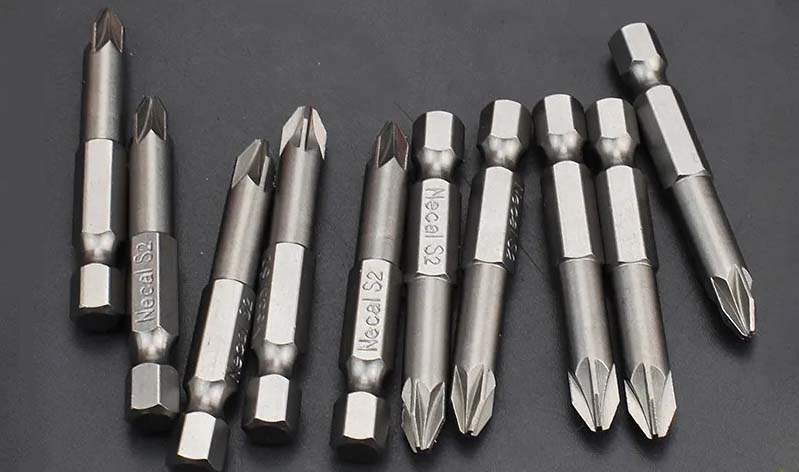
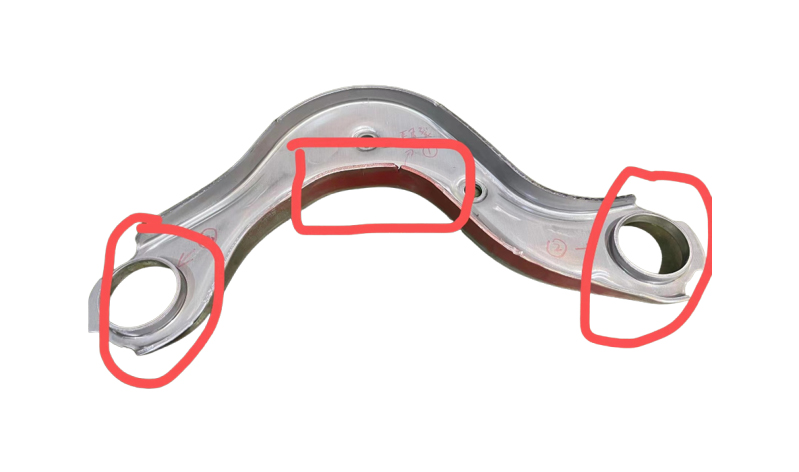
The appearance vision inspection device T300-P collects image data on the surface of the product through the camera or camera. The collected image data is pre-processed, feature extraction and image analysis to identify defects, defects or abnormalities on the surface of the product. By detecting and analyzing image data, identify various defects on the surface of the product, such as scratches, depressions, and color inequalities, and classify and judge them. According to the preset algorithms and rules, automatically determine whether the product is qualified or defective, and generate corresponding output results, such as alarms, classified information, statistical data, etc. Record test results and data for subsequent analysis and traceability.
Device model: T300-P
Machine features: special vibrating plate automatic feeding mechanism
Main function: check length, height, diameter, mixing, deformation, missing material, burr, black spot, scratch and other detection
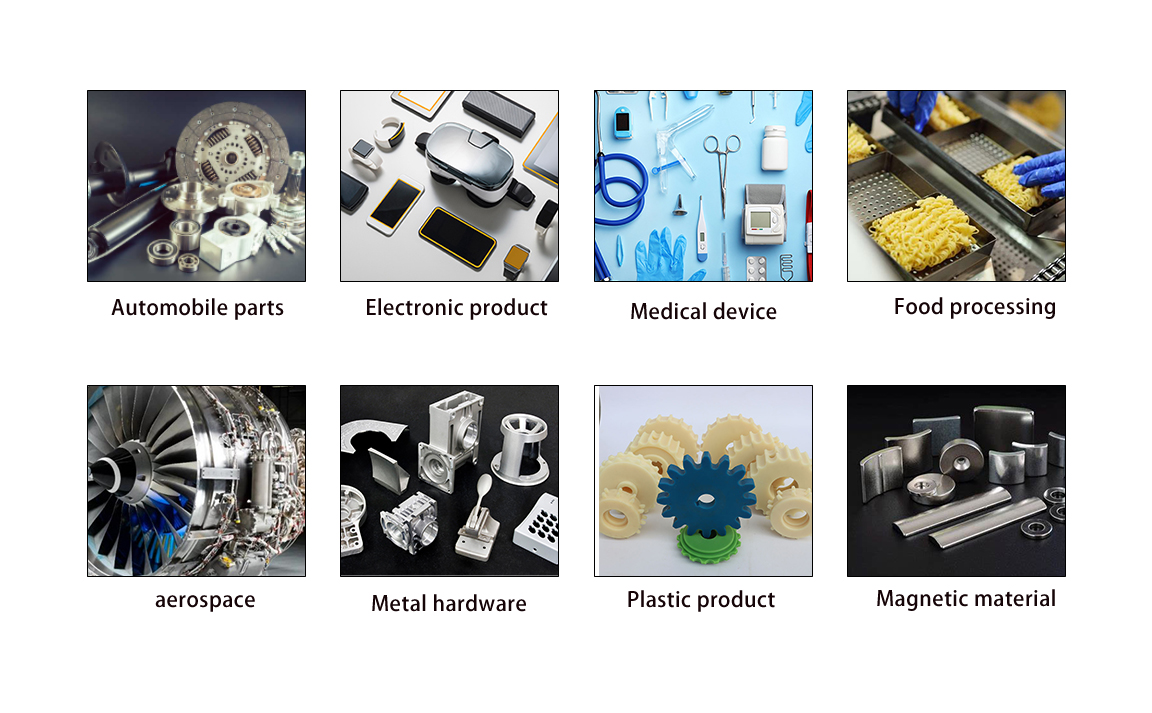
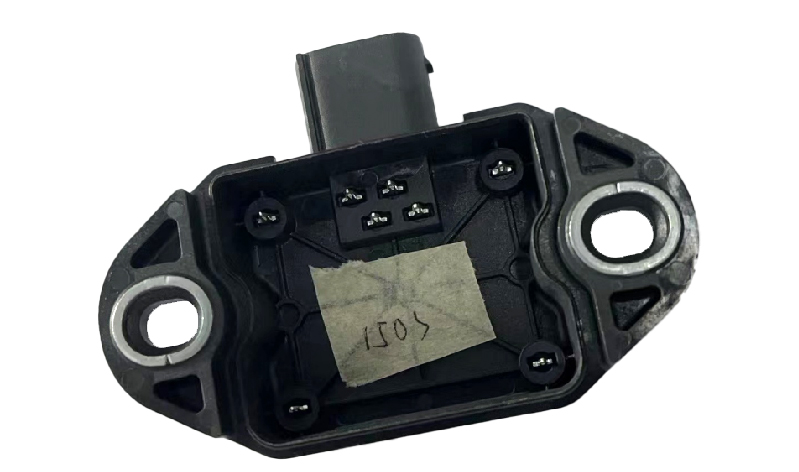
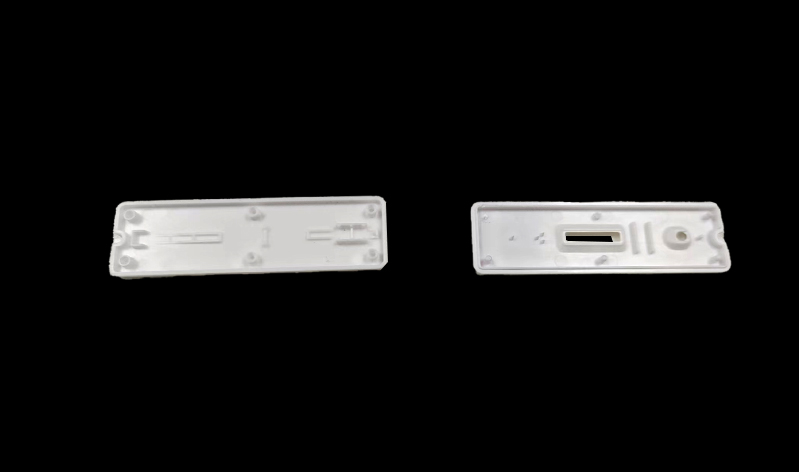
Trial scope: Suitable for detecting rubber rings, screws, mobile phone accessories, stainless steel, aluminum, plastic and other devices
Detection accuracy: Accuracy up to 1μ
Detection efficiency: Detection speed up to 1200 devices per minute

Defect detection: detect various defects on the surface of the product, such as scratches, dents, defects, and color inequalities.
Chromatic aberration detection: The color of the product is tested and compared to determine whether the color meets the standard requirements.
Size measurement: It also has a size measurement function, which can measure the size, shape and contour of the product surface to ensure that the product meets the specifications.
Text and pattern recognition: identify the text, pattern or bar code on the surface of the product and verify its correctness and completeness.
Classification and screening: Classify and screen products according to the characteristics of product appearance.
Automatic control: integrate with the production line to achieve automatic quality control. The equipment can automatically determine the qualification of the product.
Data recording and analysis: record the data and results in the detection process for quality analysis, traceability and continuous improvement.

Vision inspection software

Industrial computer

display
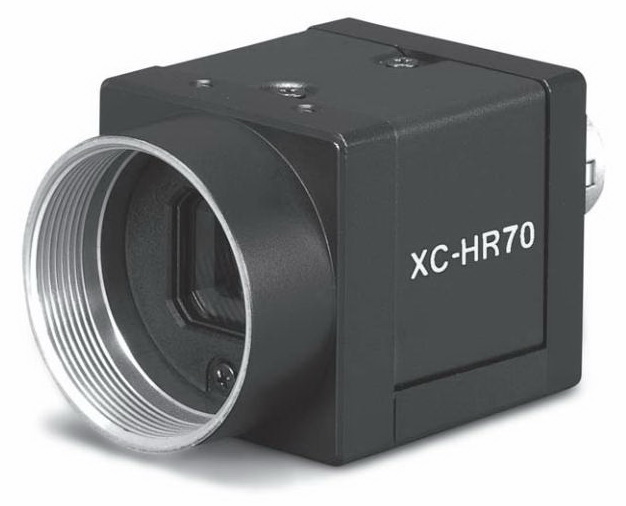
Industrial camera

Camera adjustment module
Industrial lens

illuminant
Control system
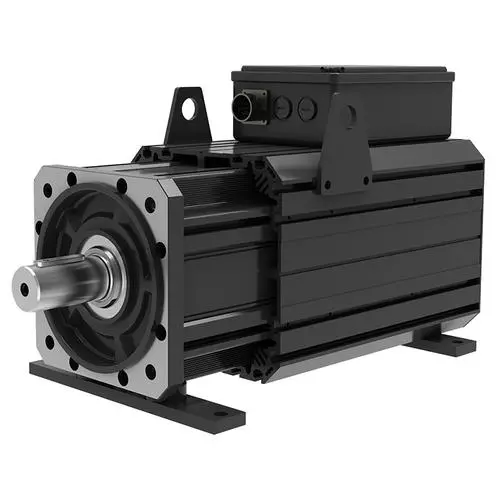
Servo motor

Reduction gear


Equipment accuracy: up to ±0.01mm
Detection speed: 200 ~ 1200 PCS/min
Detection quality: 0.1 ~ 100g

Device type |
High speed cloud disk tester (Glass disk) |
Scope of application |
It is suitable for the detection of rubber parts, precision hardware parts, automobile, mobile phone parts, plastic parts, electronic parts and other high-precision products. |
turntable |
Special ring glass turntable |
Optical system |
Germany high rate CCD industrial camera, Japan imported lens, professional light source system |
Number of cameras |
Standard 1 (optional 1 ~ 8) |
Control system |
Germany Siemens Industrial Computer |
Image detection software |
Siptech Vision inspection System |
Feed system |
Special feed guide rail, a set of vibration disk equipment, automatic feed storage hopper equipment (optional) |
Packaging system |
Automatic counting and packing machine (optional) |
Detection speed |
200 to 1200 PCS/min |
precision |
Up to ±0.01mm |
Recommended inspection size |
0.1 ~ 50mm |
Detection quality |
0.1 to 100g |
Detection index |
Appearance size detection: outer diameter, inner aperture, opposite side, diagonal, length, height, concentricity, roundness, step size, Angle, sharpness, etc |
Defect detection: 360-degree teeth, rotten teeth, bad teeth, oblique teeth, poor knead teeth, internal burrs, lack of material, internal hole blockage, cracking, burrs, solder joint area, mark, there are no internal teeth, all functional detection of standing flat head screw tooth parts |
Supply voltage |
Two-phase 220V, 50Hz |
Rated power |
1kW |
Atmospheric pressure |
The air pressure is not less than 0.35 ~ 0.7MPa |
Equipment weight |
About 500kg |
Operating temperature |
-3 ° C to 45 ° C |
Storage temperature |
-20℃ ~ 60℃ |
Equipment size |
1000mm(L)×1000mm(W)×1800mm(H) |

It is suitable for the detection of rubber parts, precision hardware parts, automobile, mobile phone parts, plastic parts, electronic parts and other high-precision products.
