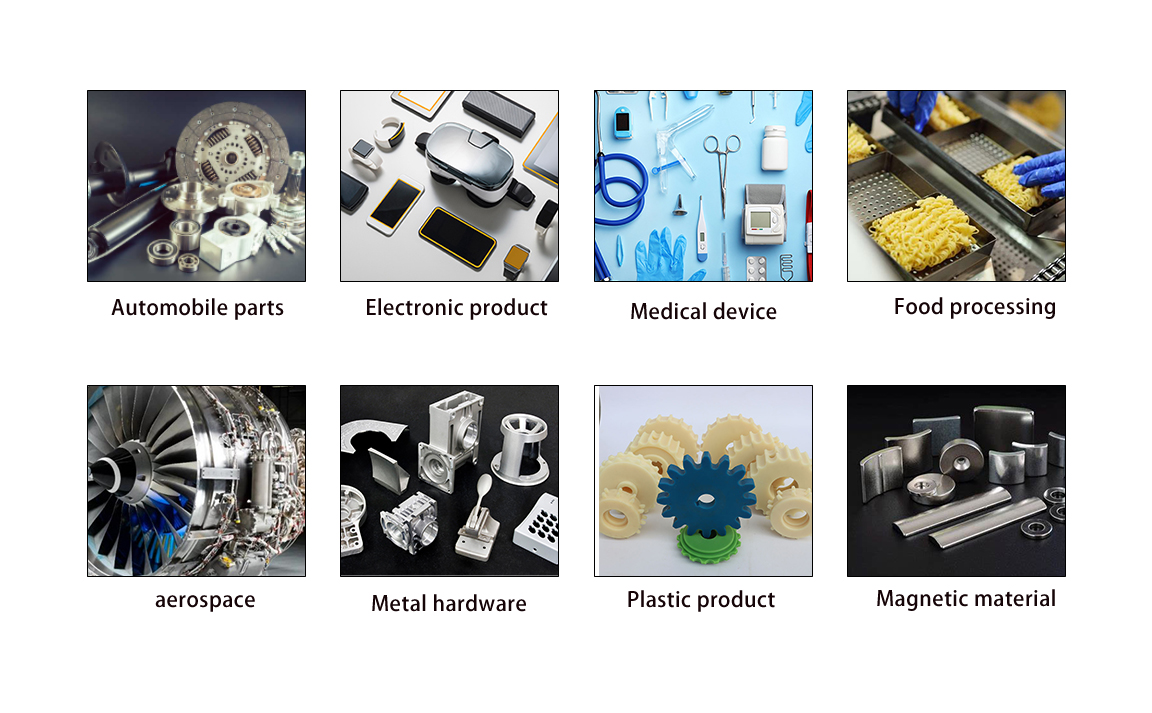
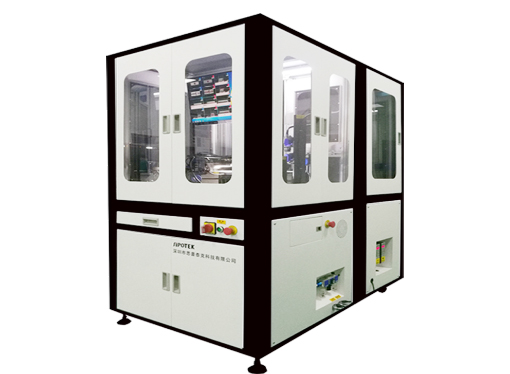
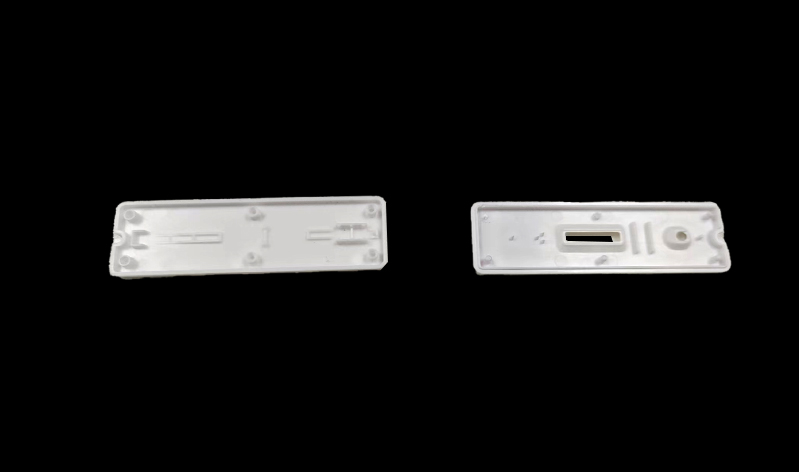
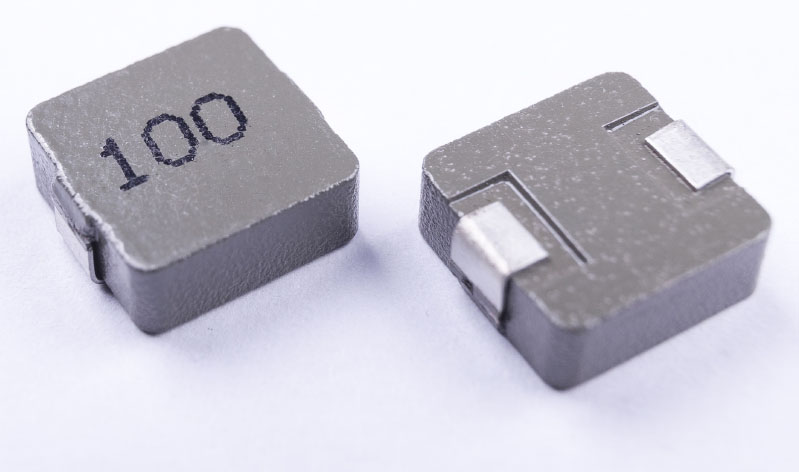
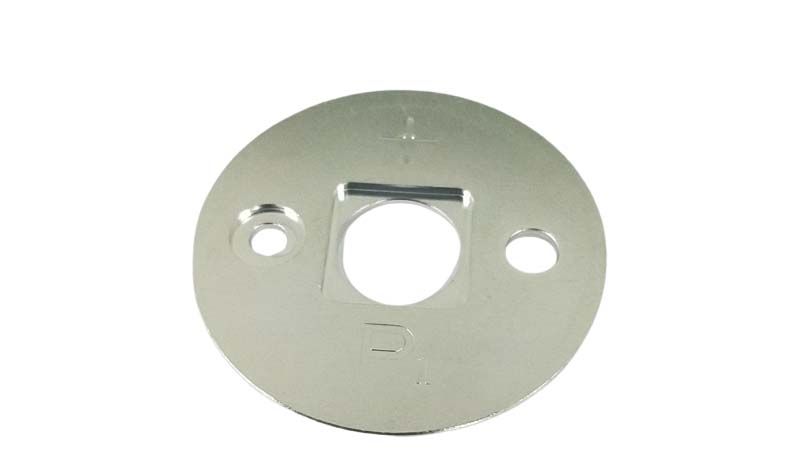
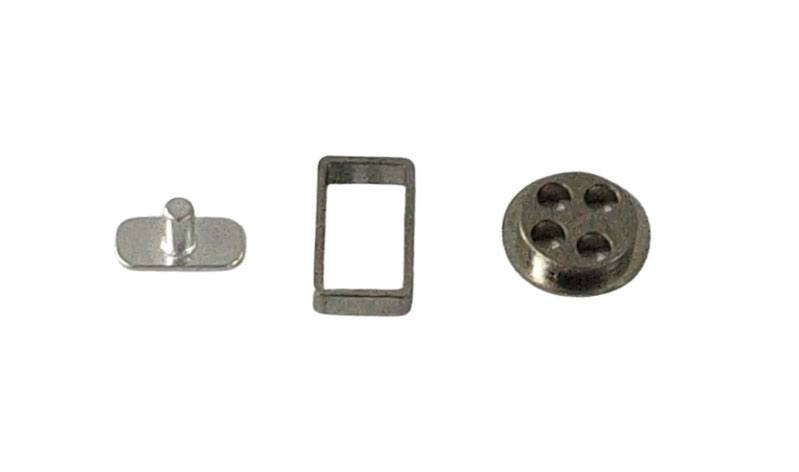
Vision inspection machine refers to equipment or machines that comply with European standards and regulations and are used for visual inspection. It is designed to detect product surface features, defects, dimensions, etc., and ensure that products meet quality standards and production requirements. In the design, manufacturing and sales process, we need to comply with the relevant European regulations and standards to ensure the compliance, safety and quality of the equipment. Contribute to the free circulation of products and market acceptance.
Vision inspection Eurogauge equipment function
Product inspection and defect identification: the visual inspection machine can carry out a comprehensive inspection of the product to identify surface defects, foreign bodies, cracks, deformation and other problems to ensure that the product quality meets the standard.
Size measurement: Through cameras and image processing technology, the visual inspection machine can accurately measure the size and shape of the product and check whether the product meets the specifications.
Text and image recognition: Visual inspection equipment can recognize the text, pattern or logo on the product to ensure that the product identification is correct and complete.
Color detection: Visual detection machine can carry out color detection to ensure product color consistency, suitable for industries requiring color consistency.
Classification and sorting: According to the characteristics of the product, the visual inspection machine can classify and sort the product, improving the efficiency and accuracy of the production line.
Defect classification: According to the test results, the product defects are classified according to the severity.
Automated inspection: The visual inspection machine supports automated inspection, reduces human intervention, and improves detection efficiency and consistency.
Data recording and analysis: the visual inspection machine can record test results and data, achieve data analysis, statistics and reporting, optimize production processes and quality control.
Equipment composition
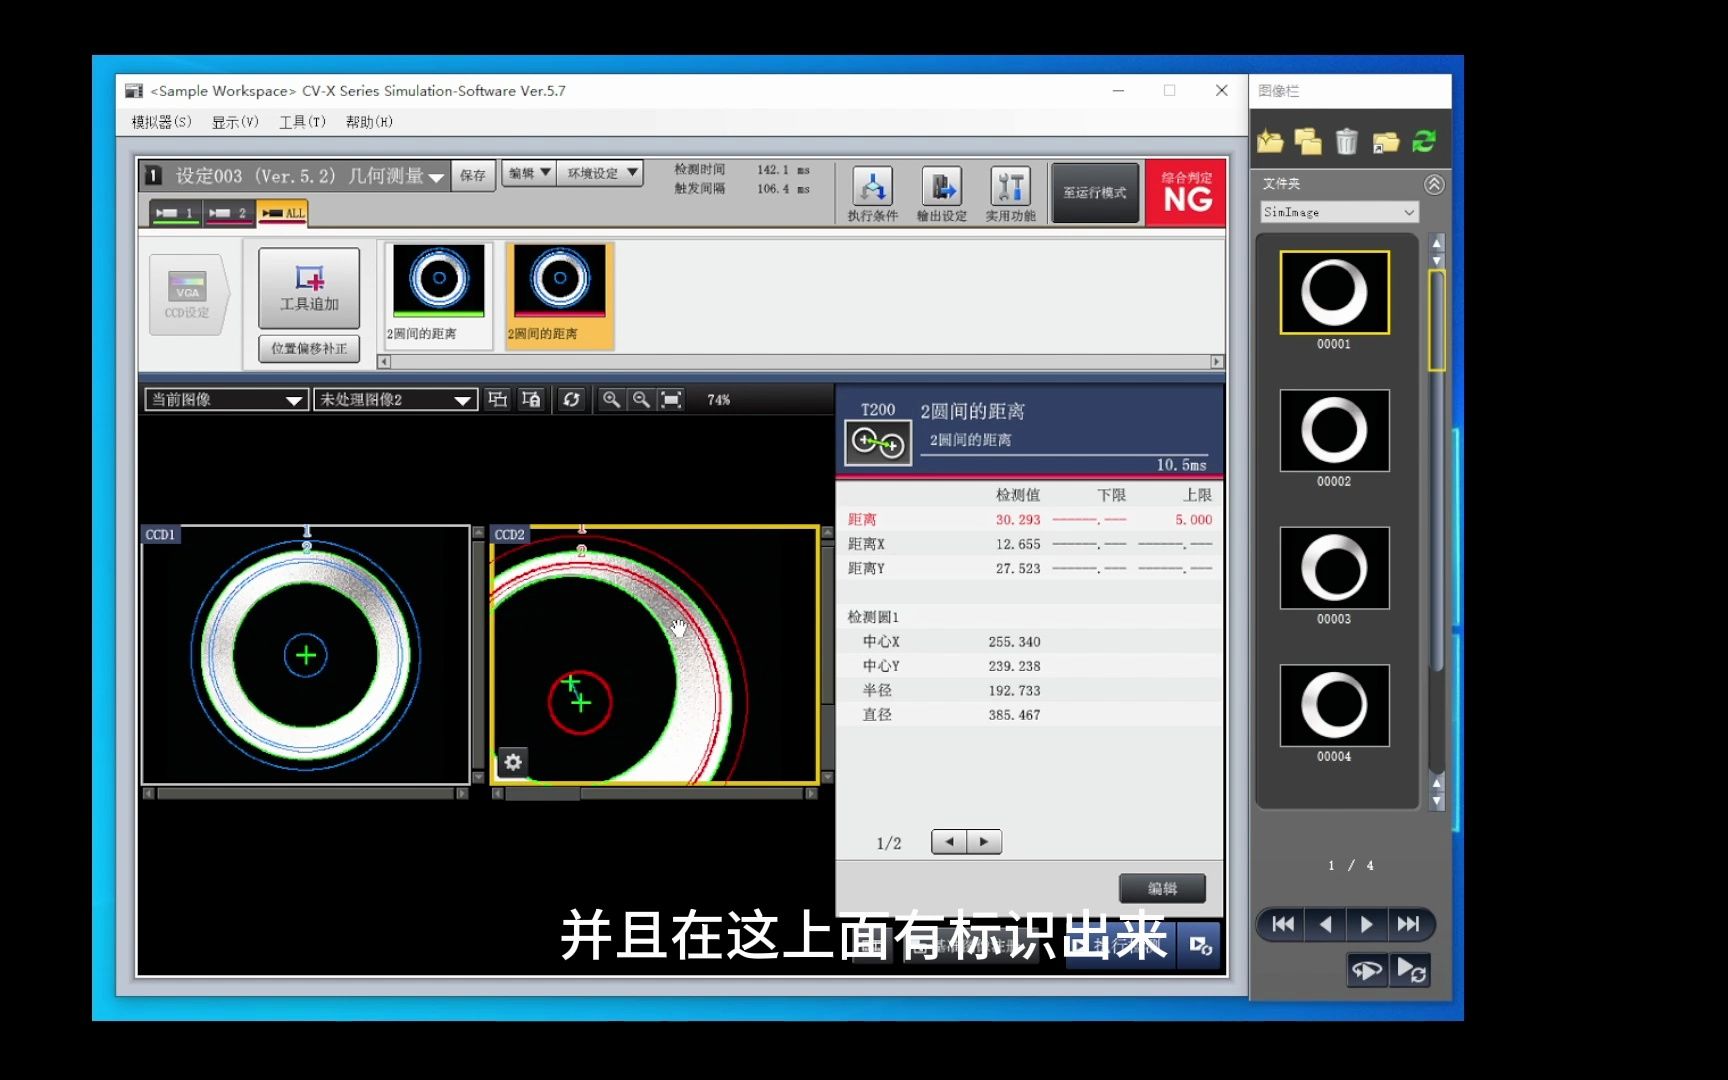
Visual inspection software

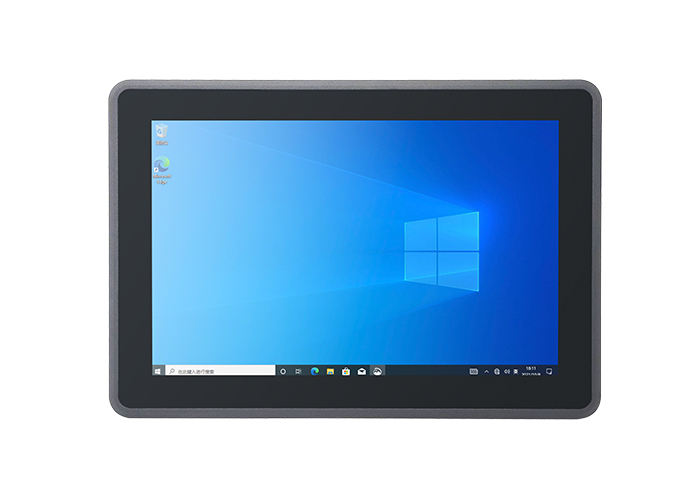
Industrial computer

display
Industrial camera

Camera adjustment module
Industrial lens
Ring light source
Control system
Robot
Equipment local

Working principle
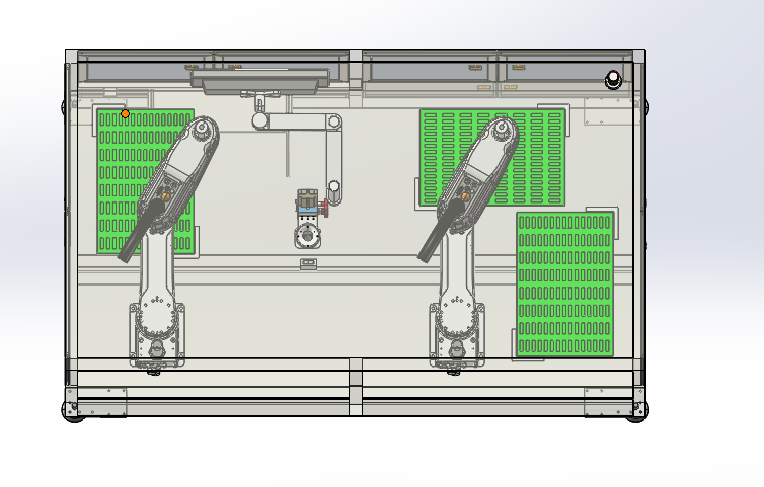
1. The four-axis manipulator 1 sends the product to the 90-degree CCD designated detection area for detection, and starts the detection at the same time according to the signal prompt. After the detection is completed, the tested product is placed on the loading platform and a group of 90 degrees is started according to the signal.
2. The four-axis mechanism hands 2 to the loading platform to pick up the tested products, according to the test results fed back by the system, automatically arrange the plate, good products are placed in the OK product plate, bad products are placed in the NG product plate
3. Repeat the preceding steps

Product parameter
Device type | High speed cloud disk tester (Glass disk) |
Scope of application | Suitable for testing screw products that can be placed smoothly. |
turntable | Special ring glass turntable |
Optical system | Germany high rate CCD industrial camera, Japan imported lens, professional light source system |
Number of cameras | Three are standard |
Control system | Industrial computer |
Image detection software | Siptech Vision inspection System |
Feed system | Special feed guide rail, a set of vibration disk equipment, automatic feed storage hopper equipment (optional) |
Packaging system | Automatic counting and packing machine (optional) |
Detection speed | 200 to 1200 PCS/min |
precision | Up to ±0.01mm |
Recommended inspection size | 2 ~ 15mm |
Detection quality | 0.1 to 100g |
Detection index | Appearance size detection: screw bottom shape, screw head shape, screw inner and outer diameter, tooth distance, tooth Angle, step height, head height, etc |
Defect detection: 360-degree, there are no teeth, oblique teeth, bad rubbing teeth, burrs, solder joint area, marks, there are no internal teeth, all functions of standing flat head screw tooth parts can be detected |
Supply voltage | Two-phase 220V, 50Hz |
Rated power | 1kW |
Atmospheric pressure | The air pressure is not less than 0.35 ~ 0.7MPa |
Equipment weight | About 500kg |
Operating temperature | -3 ° C to 45 ° C |
Storage temperature | -20℃ ~ 60℃ |
Equipment size | 1000mm(L)×1000mm(W)×1800mm(H) |
Application field
