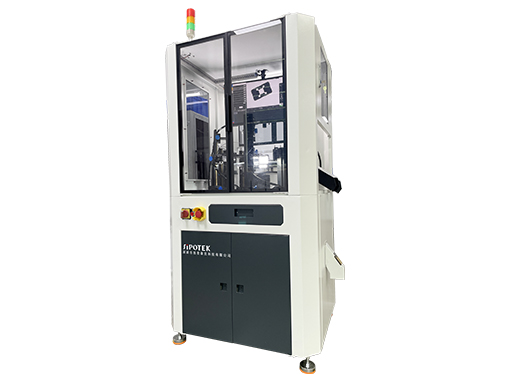
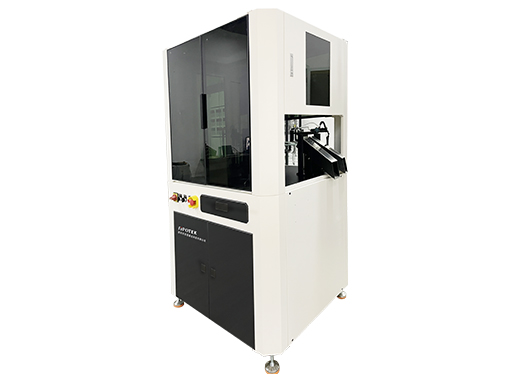
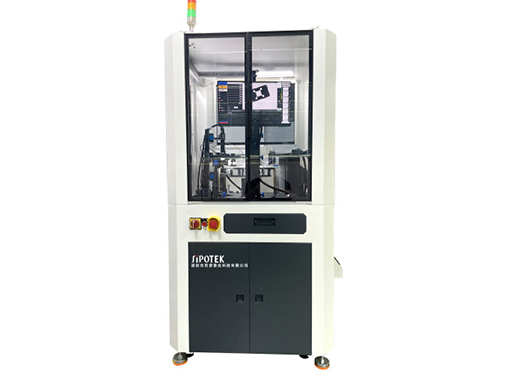
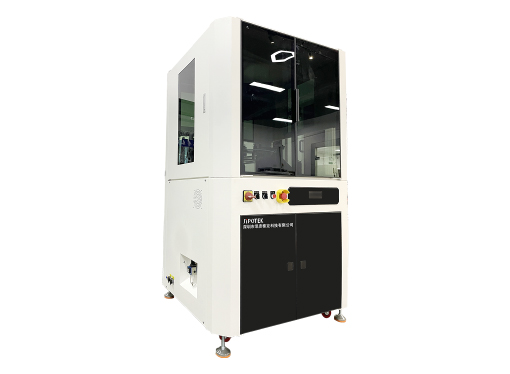
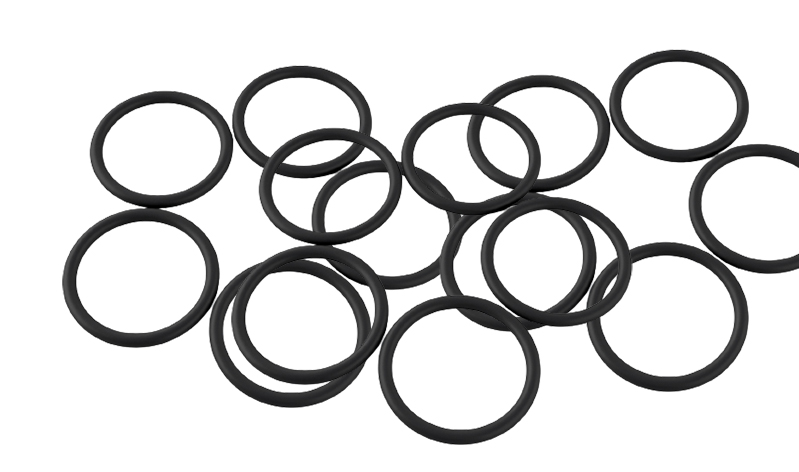
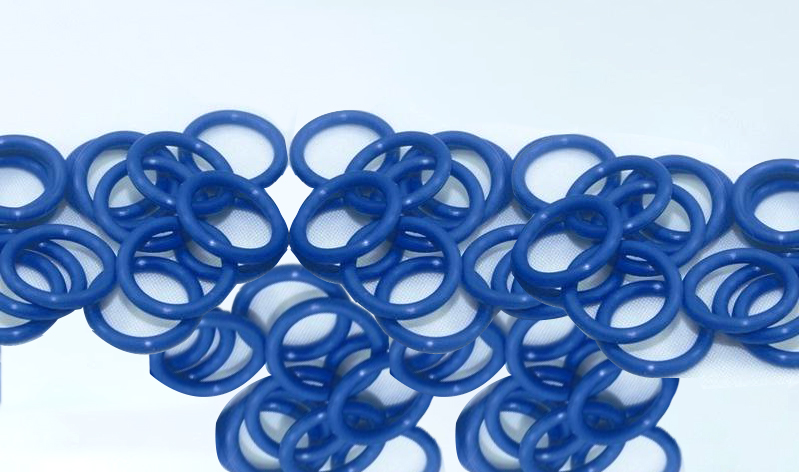
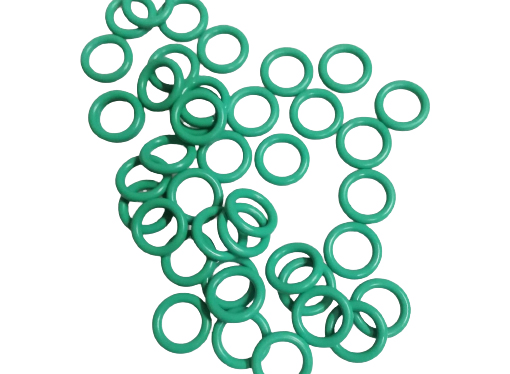
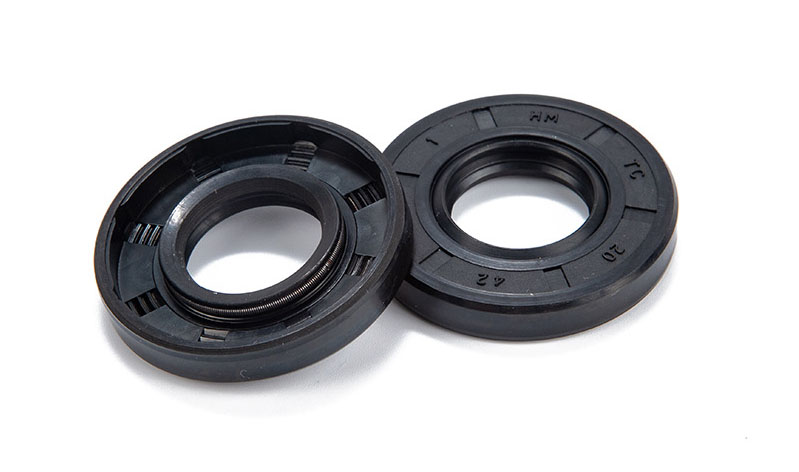
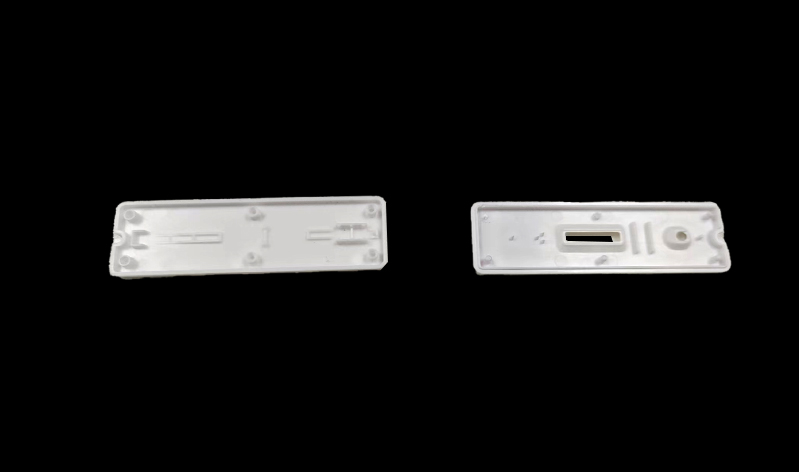
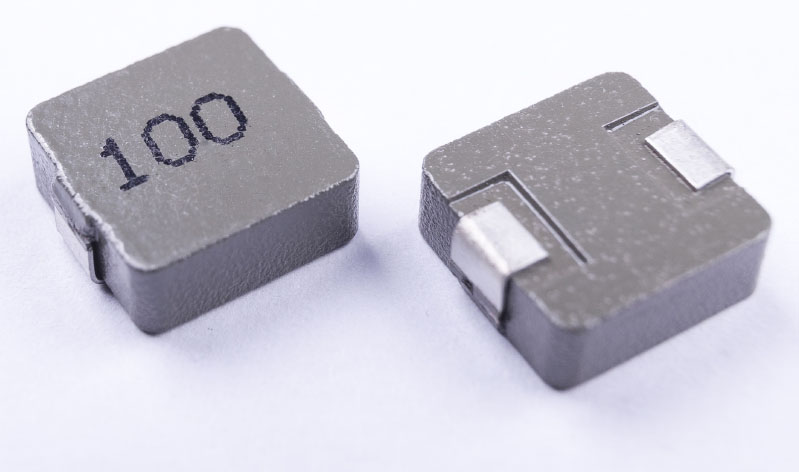
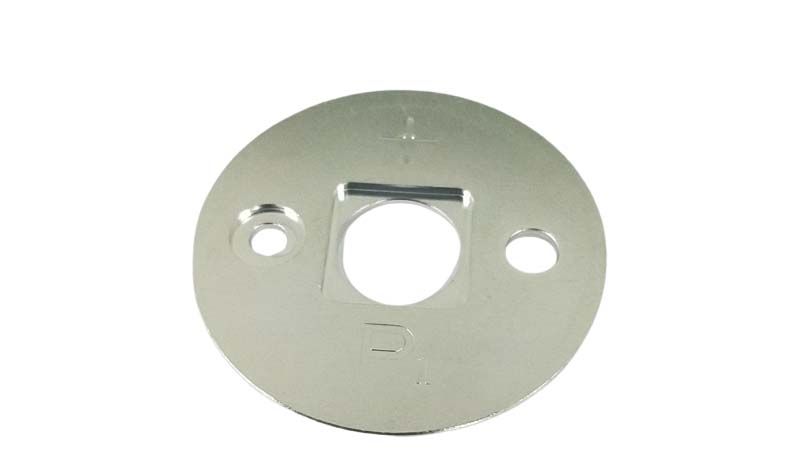
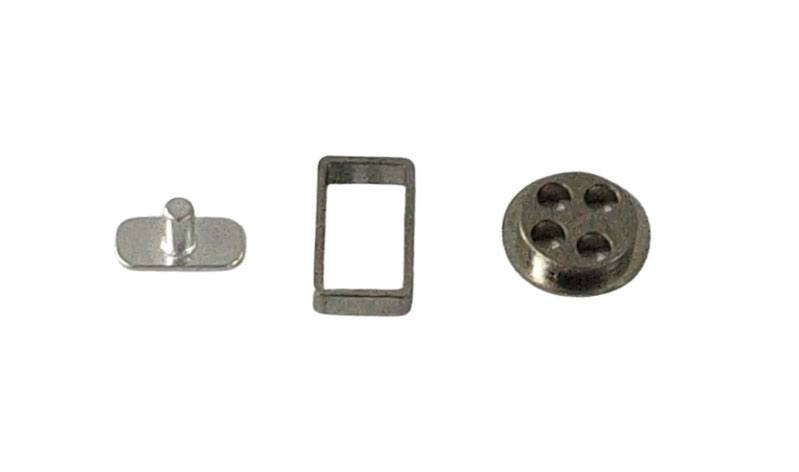
O-ring automatic optical testing equipment for various types of O-ring outer diameter, inner diameter, wire diameter, height, outer ring raw edge, inner ring raw edge, curling, surface defect, surface foreign body, sag, fracture, deformation, mixing for all-round accurate detection. Data display and automatic identification of "qualified" or "unqualified" improve the unstable factors of human detection.

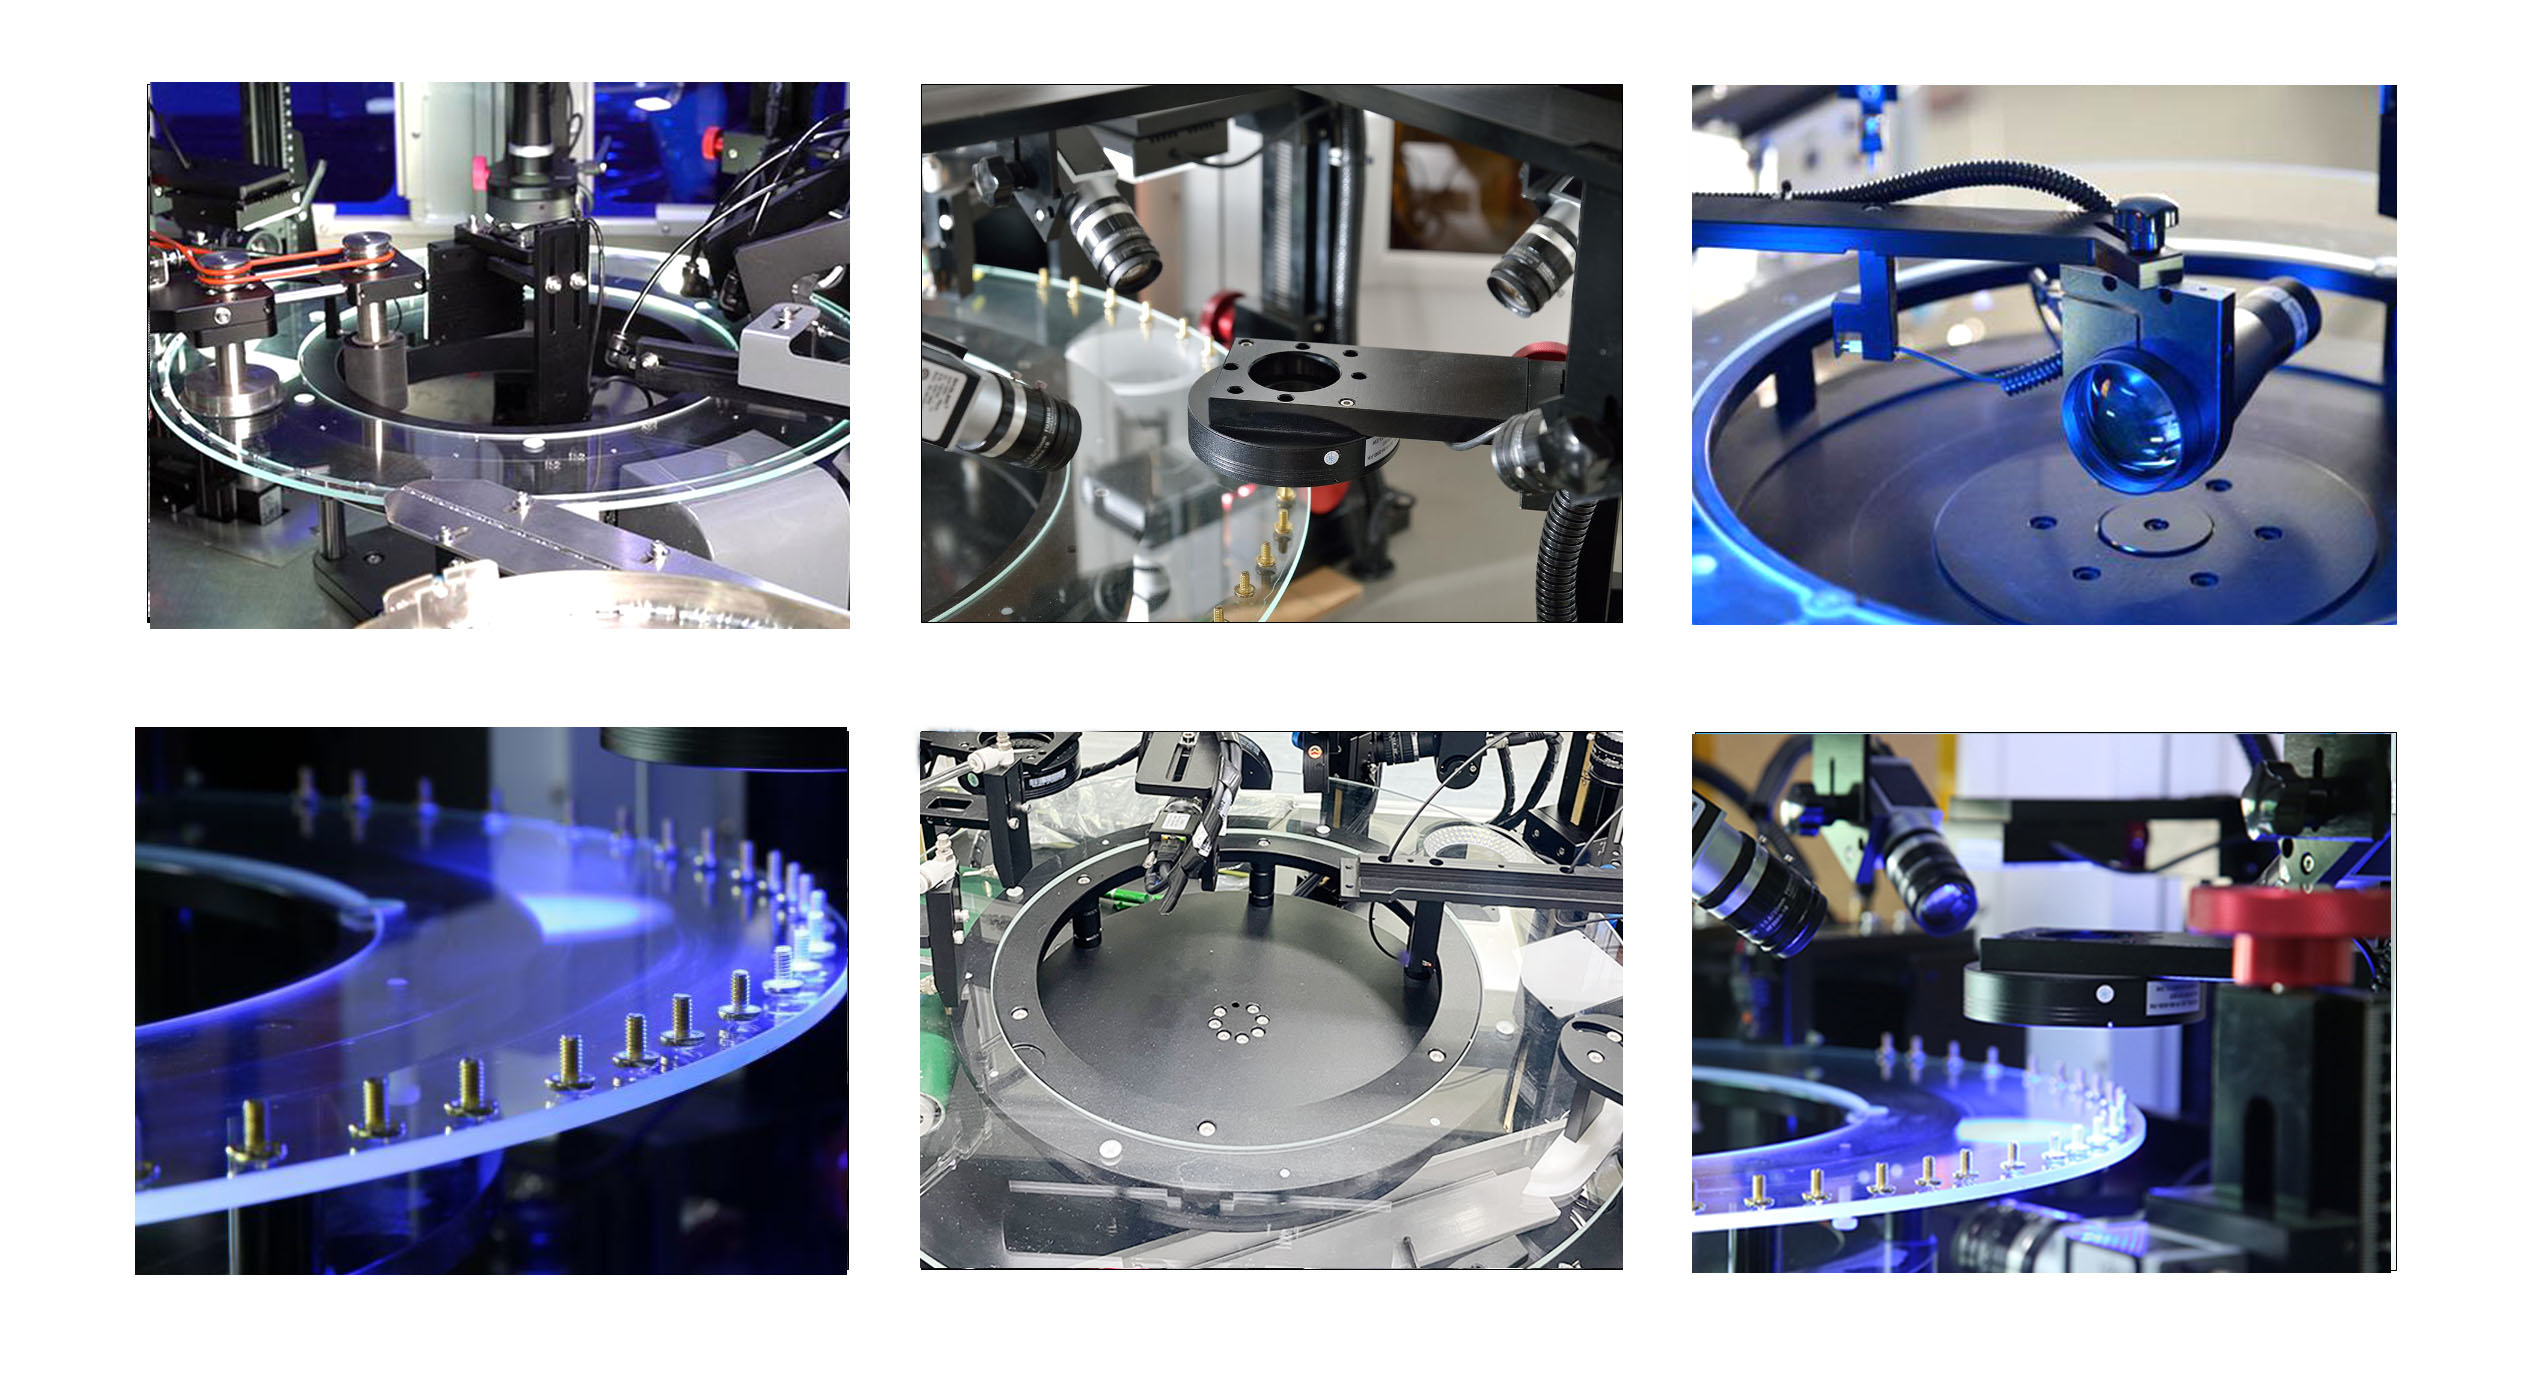
Test large O-ring products, the first glass to test the front, inner and outer ring 360 degree appearance, the middle is the material turnover mechanism, turn the product over, the second glass to test the other side and inner and outer ring 360 degree appearance.
The assembly line mechanism, for products with different characteristics on both sides, first removes the inconsistent direction on the assembly line.

Defect detection: Visual inspection equipment can detect O-ring surface defects, such as cracks, dents, bubbles, etc. With high-resolution cameras and image processing algorithms, defects can be identified quickly and accurately.
Size measurement: The O-ring diameter, thickness and roundness can be measured to ensure that it meets the specifications.
Color detection: Visual inspection equipment can also detect the color of the O-ring to ensure that the correct color identification is used for a specific application.
Automatic classification: According to the test results, O-rings can be automatically classified to separate qualified and unqualified products for further processing or elimination of unqualified products.

High accuracy: there are usually high-resolution cameras and sophisticated image processing algorithms that can accurately detect the defects and dimensions of the O-ring surface.
Quick inspection: O-ring visual inspection equipment is usually able to quickly detect multiple O-rings in a short period of time, improving production efficiency.
Automation: With automation function, can automatically classify qualified and unqualified O-rings, reduce manual intervention.
Reliability: The inspection results of visual inspection equipment are usually very reliable and can help manufacturers ensure that product quality meets standards.
Flexibility: Can be set according to different sizes and requirements, suitable for different specifications of O-ring detection.
Data recording: With data recording function, you can save test results and statistical data, convenient quality management and traceability.
User-friendly interface: Usually has an intuitive user interface that is simple to operate and easy to use and manage.
Versatility: In addition to detecting O-ring surface defects and dimensions, it can also perform color detection and shape recognition.
Detection speed :100-350pcs/min.
According to the test item, 2 FA industrial lenses and 2 telecentric lenses
Industrial camera: 4 sets, respectively, bottom positive light, side backlight, top positive light, top backlight.


Device type | High speed cloud disk tester (Glass disk) |
Scope of application | Suitable for testing screw products that can be placed smoothly. |
turntable | Special ring glass turntable |
Optical system | Germany high rate CCD industrial camera, Japan imported lens, professional light source system |
Number of cameras | Three are standard |
Control system | Industrial computer |
Image detection software | Siptech Vision inspection System |
Feed system | Special feed guide rail, a set of vibration disk equipment, automatic feed storage hopper equipment (optional) |
Packaging system | Automatic counting and packing machine (optional) |
Detection speed | 200 to 1200 PCS/min |
precision | Up to ±0.01mm |
Recommended inspection size | 2 ~ 15mm |
Detection quality | 0.1 to 100g |
Detection index | Appearance size detection: screw bottom shape, screw head shape, screw inner and outer diameter, tooth distance, tooth Angle, step height, head height, etc |
Defect detection: 360-degree, there are no teeth, oblique teeth, bad rubbing teeth, burrs, solder joint area, marks, there are no internal teeth, all functions of standing flat head screw tooth parts can be detected |
Supply voltage | Two-phase 220V, 50Hz |
Rated power | 1kW |
Atmospheric pressure | The air pressure is not less than 0.35 ~ 0.7MPa |
Equipment weight | About 500kg |
Operating temperature | -3 ° C to 45 ° C |
Storage temperature | -20℃ ~ 60℃ |
Equipment size | 1000mm(L)×1000mm(W)×1800mm(H) |

