Plastic gears for machine vision inspection
Gear is a widely used basic part, its quality directly affects the bearing capacity and life of gear transmission system. Gear detection is a necessary means to analyze the source of gear machining error, improve the precision of gear machining and ensure the quality of gear products. Gear measurement can be divided into contact measurement and non-contact measurement. Due to the complexity of gear shape and high precision requirements, the traditional non-contact measurement method is difficult to meet the requirements of gear measurement accuracy, so the traditional gear detection equipment usually adopts the contact measurement method.
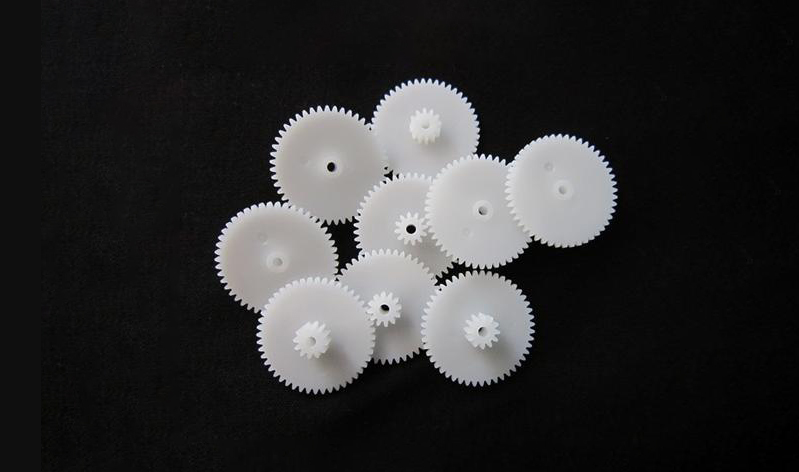
With the progress of computer technology and visual inspection technology, the accuracy of machine vision inspection has gradually improved, and it can meet the needs of gear detection. Machine vision measurement has the advantages of high efficiency, complete information, good stability and identification of defects, and has been widely used in the field of gear measurement.
Plastic industry case based on machine vision
Detect the defects of lower tooth flash, upper tooth flash, smaller lower tooth flash, upper tooth tip broken, aperture raised, upper tooth notch, lower tooth tooth injection incomplete and so on.
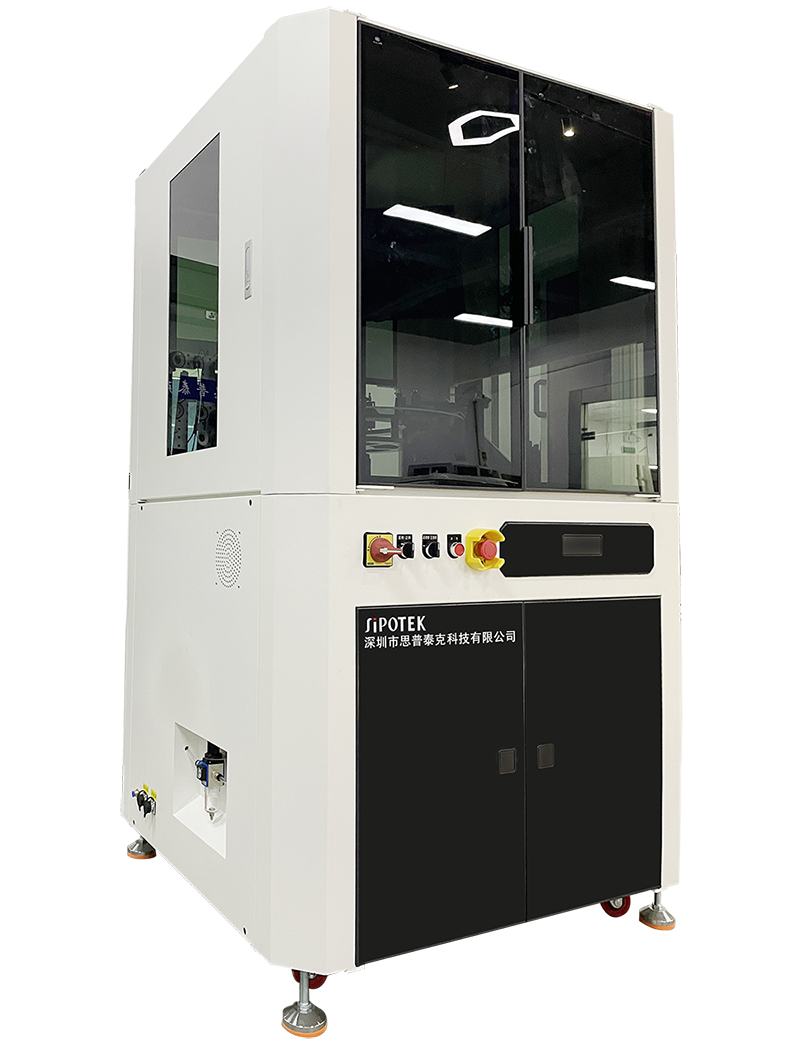
Gear online testing equipment
The glass turntable is driven by servo motor and precision reducer to drive the gears to be tested through the visual detection station, which can ensure the uniform and smooth motion of the gears in the process of image acquisition. The turntable is made of highly transparent glass, and the detection image of the bottom of the product can be obtained without flipping. The position of the gear on the turntable is located by the photoelectric sensor, and the OK/NG gear is blown into the corresponding storage box using a pneumatic actuator for automatic sorting. The system can detect appearance defects such as black spots, burrs, missing teeth, broken teeth and warpage deformation of injection moulded gears, measure conventional geometric size and shape and position errors, and select qualified and unqualified products according to defect threshold and dimensional tolerance, and have alarm function. The detection time of the end face of the gear is less than 0.3s, which can meet the needs of the production beat, especially with the gear axial measurement function.
Software interface of on-line testing and sorting system for injection molding gear. Common gear types and corresponding dimensional tolerances and configuration parameters are stored in the software database, including CPK analysis and XR diagram analysis, which improves the efficiency of parameter input. The on-line inspection and sorting system of injection gear has both precision measurement and defect detection functions, including the detection of gear axial height, pitch, common normal line, concentricity and other related gear accuracy, and the identification accuracy of gear appearance defects can meet the requirements of mass inspection of injection gear.
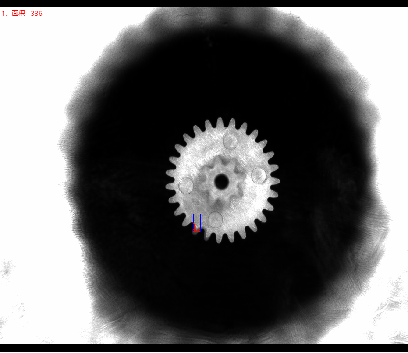
Detection effect
Flash detection
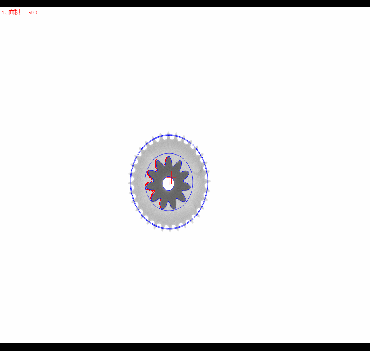
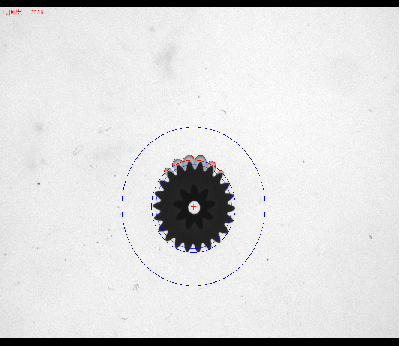
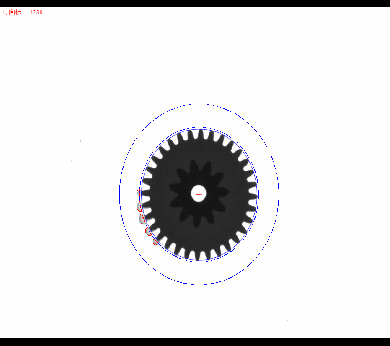
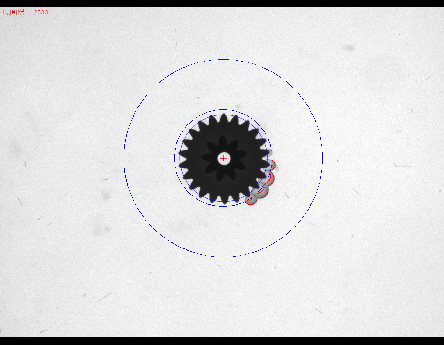
Aperture projection detection
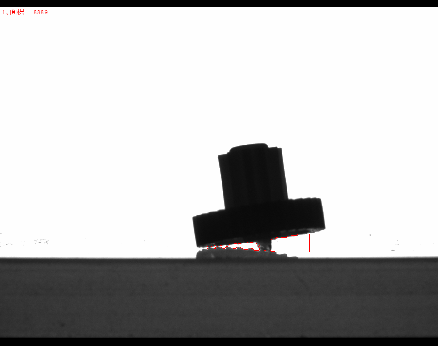
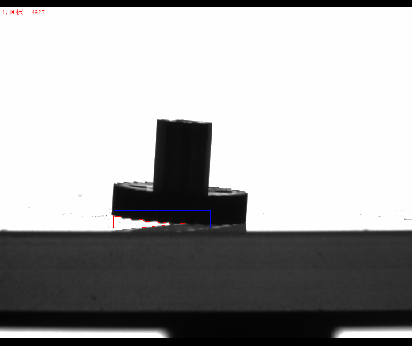
Incomplete injection molding
System installation requirements
Inspection space for equipment placement: When installing standard inspection equipment for Siptech Vision inspection systems, it is necessary to ensure sufficient space for installation of equipment.
Ambient temperature: 0-50 degrees Celsius;
Air humidity: below 90% RH;
Electronic interference: Provide a place for the device with less electronic interference.
Power supply: AC 220V, 50Hz, power consumption < 1KVA.
-
Service hotline
19926638772

