Screw connector appearance inspection scheme
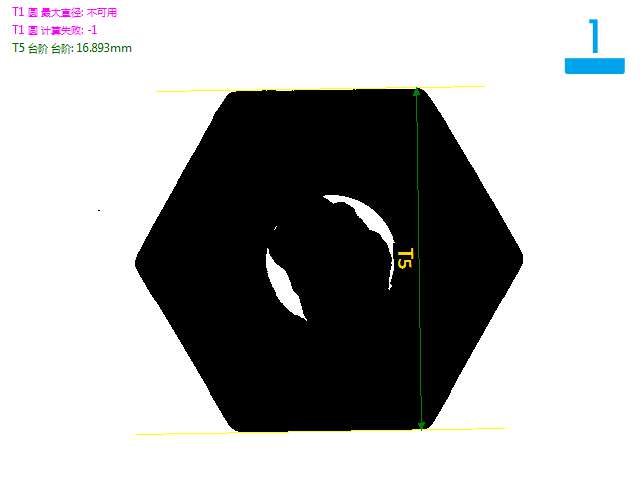
Many people may have been exposed to screw detection. It mainly focuses on dental testing. The screw detection in this scheme is mainly to detect the surface state of the nut. The bottom surface detects scratches on the head plane, the side detects the height, the existence and quantity of screw teeth, the top detects the damage to the front end of the screw teeth, and the backlight detects defects such as the diameter and head width of the inner hole. For example, the position and shape of the cross groove, whether there are defects, scratches, etc. in other positions. There are also some screws that may have textures on the surface, and the texture needs to be detected.
The difficulty of testing such products is that there are too many target varieties under test. Just think about the screws of various schools in our daily life. There are flat heads, sink heads, and round heads. There are too many types, which will bring a lot of challenges to machine vision test measurement.
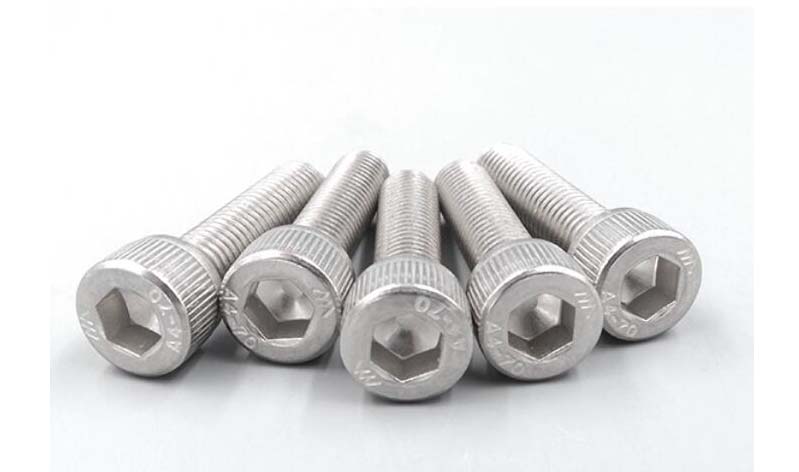
As shown in the figure above, it is just a relatively easy-to-measure flat-head screw. The surface of this screw is flat, and it is possible to surface the surface details by using a high-angle ring light source or coaxial light source. Of course, low-angle ring light sources can also be used to show the outline of the product.
Industrial cameras and industrial lenses do not have much requirements. Their importance in this scheme is not so high, and mainstream things can meet the requirements. It is mainly about the choice of machine visual light sources.
Detection effect
Good products
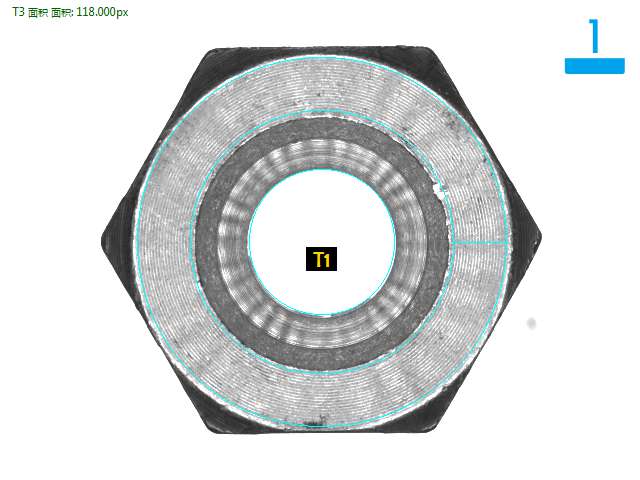
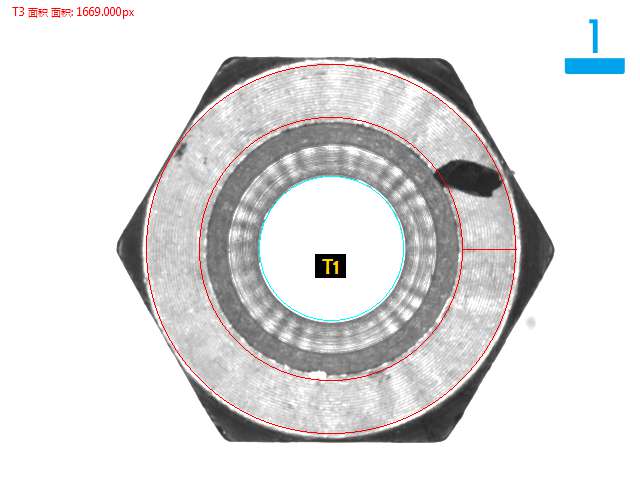
Oil pollution detection
Side detection
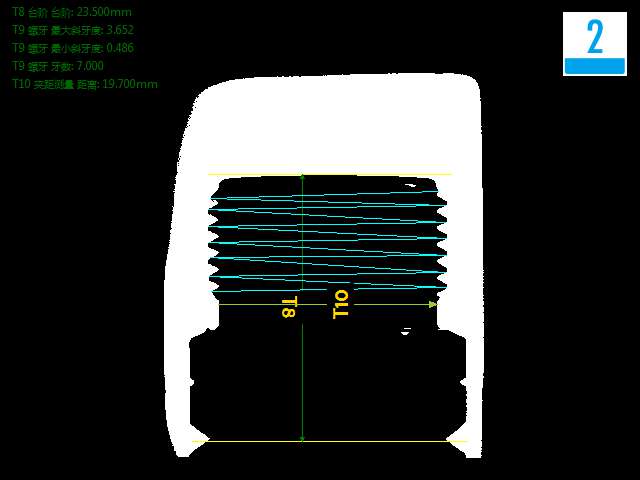
Top detection
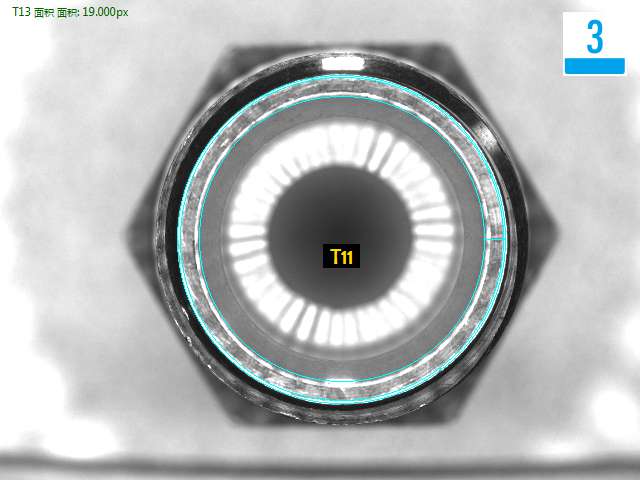
Poor inner hole
-
Service hotline
19926638772

