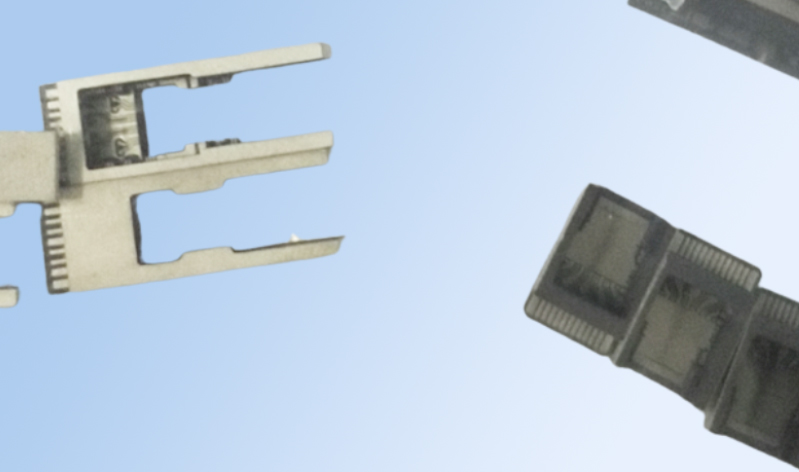
[Solution] magnetic dimension visual inspection system
With the continuous progress of science and technology, the magnetic material industry continues to emerge new types of magnetic materials, such as high-performance permanent magnet materials, soft magnetic materials, improve the permeability, etc., to promote the development of the magnetic material industry.
The popularity of the magnetic material market and the increasing complexity of the process, accompanied by various appearance defects, poor size and other problems have gradually become prominent, seriously affecting the quality of magnetic materials, magnetic materials because of small size, large batch to the production process of the detection of greater difficulty. The traditional magnetic material size detection depends on manual, subject to subjective, condition, speed and other reasons, the detection efficiency is low, the stability is poor, easy to appear false detection and missing detection phenomenon.
Machine vision technology enables traditional mechanical equipment, improves the quality of detection and classification, improves the efficiency of detection, saves labor costs and other advantages gradually replace the traditional manual detection, and meets the needs of automated production detection.
Magnetic dimension visual inspection scheme
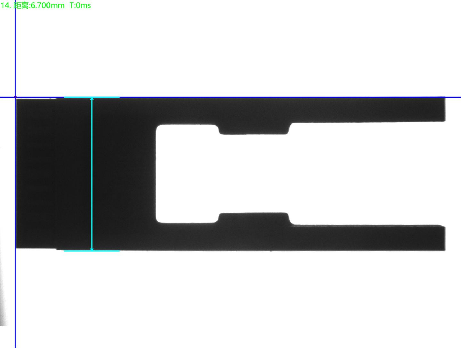
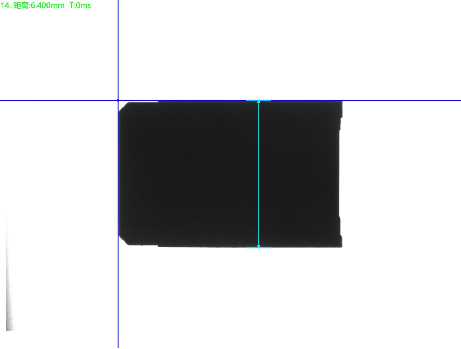
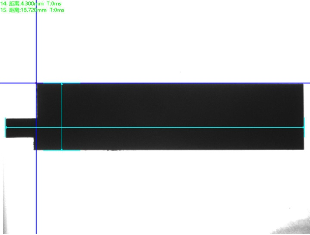
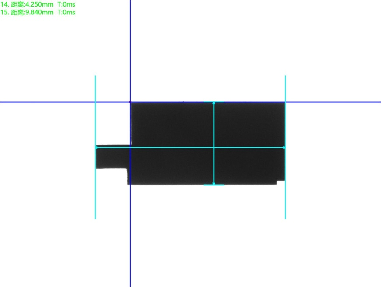
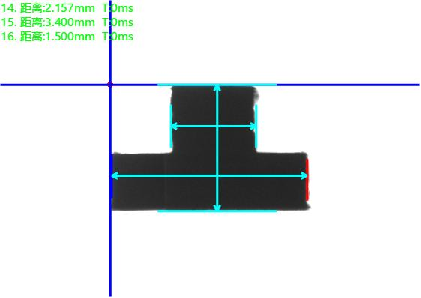
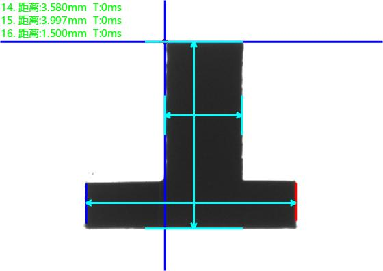
The size detection content mainly includes the length, width and height of the magnetic material.
Use a camera or other image acquisition equipment to photograph the measured object and obtain its image data.
The feature information of the object, such as edge, corner, contour, etc. is extracted by image processing algorithm, and the position and shape of the object to be measured are identified in the image.
Based on the result of feature extraction, the size of object is measured and analyzed by computer vision algorithm.
Finally, the results of the dimensional measurement are output in digital form, usually in the form of length, width, height and other parameters.
Scheme characteristics
Fast detection speed: supports simultaneous detection of multiple cameras.
Many testing items: including accuracy, thickness, outer circle diameter and other defects.
High detection accuracy: the ring partition detection method, the detection rate of 180 pieces per minute, the accuracy of ±0.1mm.
Full defect detection: covering more than 99% of defect types in the industry, using unique detection operators combined with self-designed structured light, can detect unique defects (pulp point) characteristics.
Core toolkit: Through the free combination of functional modules, to achieve defect detection, size measurement and other functions.
Simple operation: Simply drag and drop the template to complete the relevant operations.
System installation requirements
Inspection space for equipment placement: When installing standard inspection equipment for Siptech Vision inspection systems, it is necessary to ensure sufficient space for installation of equipment.
Ambient temperature: 0-50 degrees Celsius;
Air humidity: below 90% RH;
Electronic interference: Provide a place for the device with less electronic interference.
Power supply: AC 220V, 50Hz, power consumption < 1KVA.
-
Service hotline
19926638772

