[Application Case] Magnetic material appearance defect vision detection equipment
Overview of 3D vision inspection equipment
3D visual inspection equipment can obtain three-dimensional information of objects and detect and analyze equipment. Using structured light, time flight, stereo vision and other technologies to obtain three-dimensional information of objects. The depth information of object surface can be obtained by projecting structured light, multi-view imaging, etc., so as to realize 3D detection.
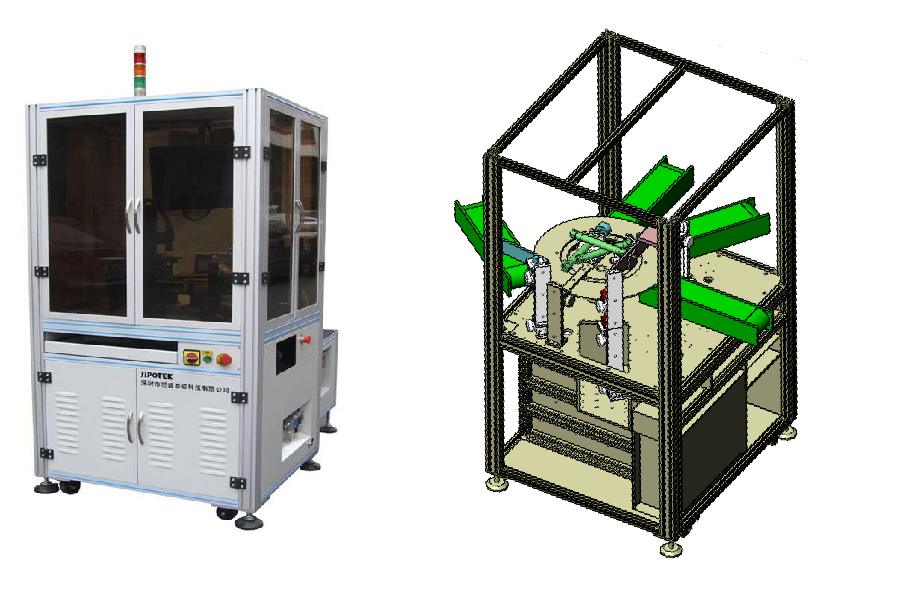
Device function
3D visual inspection equipment is widely used in automated production lines, quality control, product inspection and other fields. It can detect the size, shape, surface defects, etc., and can provide high-precision detection results.
3D visual inspection equipment can identify and detect defects on the surface of the magnetic material, such as cracks, bumps, defects, etc.
The equipment can detect foreign bodies on the surface of the magnetic material, such as impurities, stains, etc., to ensure product quality.
The device can measure the size and shape of the magnetic material to check whether it meets the specifications.
For colored magnetic materials, the system can detect whether the color is consistent and whether there is a color difference.
advantage
Compared with 2D vision inspection, 3D vision inspection equipment can provide more accurate depth information, which is suitable for scenes requiring accurate 3D measurement and inspection. It can also cope with objects of different shapes and surface characteristics, with higher flexibility and applicability.
Software support
3D vision inspection equipment is usually equipped with corresponding image processing software, which is used to process and analyze the collected 3D image data, to achieve automatic detection, defect identification and other functions.
Technical index
Accuracy: up to ±0.01mm
Recommended detection size: 0.1 to 50mm
Detection quality: 0.1 ~ 100g
Appearance size detection: outer diameter, inner aperture, opposite side, diagonal, length, height, concentricity, roundness, step size, Angle, sharpness, etc
Defect detection: 360-degree teeth, rotten teeth, bad teeth, oblique teeth, poor knead teeth, internal burrs, lack of material, internal hole blockage, cracking, burrs, solder joint area, mark, there are no internal teeth, all functional detection of standing flat head screw tooth parts
Item detection
Appearance inspection of magnetic material products with a length of 20mm* width of 15mm, the number of tests per minute is not less than 160 pieces (depending on the feed speed of the product).
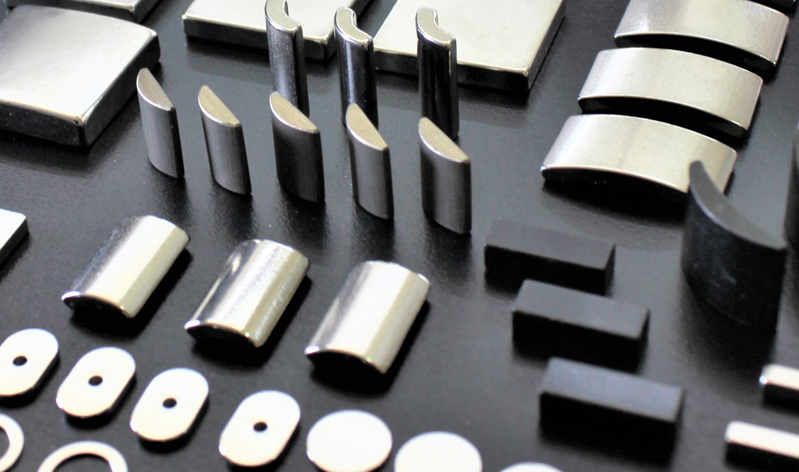
3D profile scanning can quickly identify surface defects, and the 3D scanning results are as follows
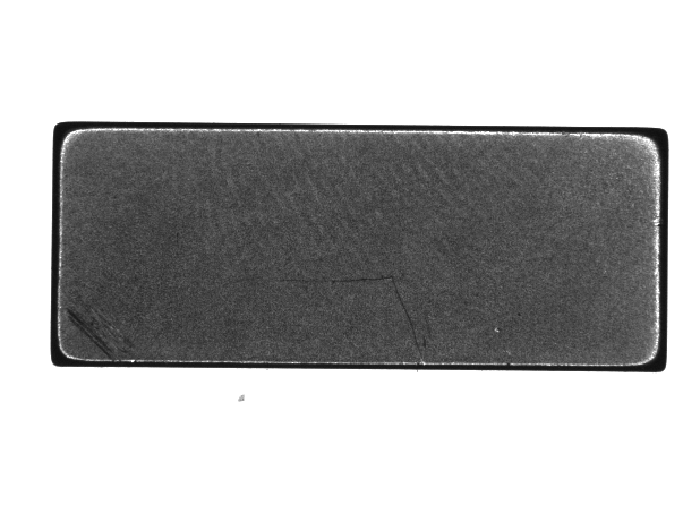
Bottom positive light detection image:
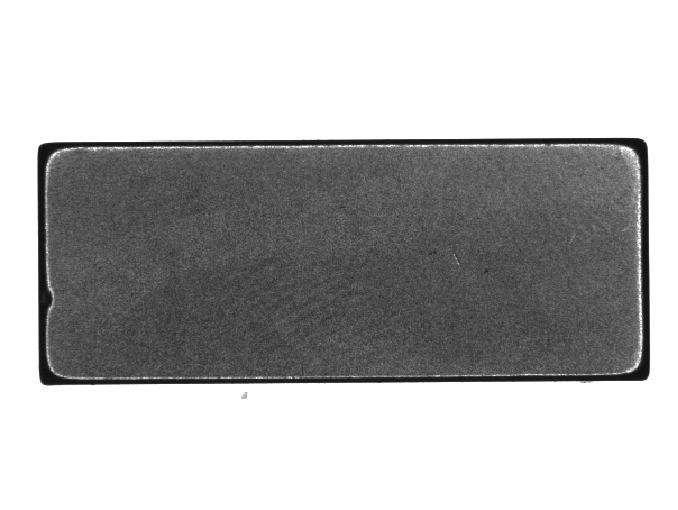
Bottom positive light detection of defective products analysis diagram: NG Bad features: lack of material analysis results: detectable
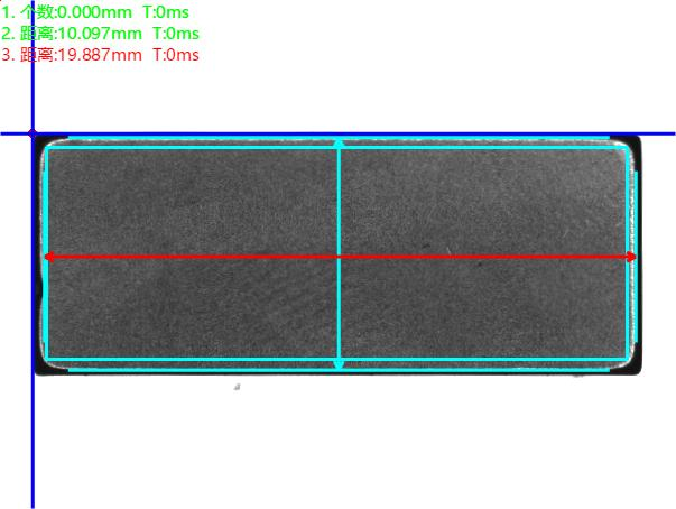
Top positive light detection image:
-
Service hotline
19926638772

