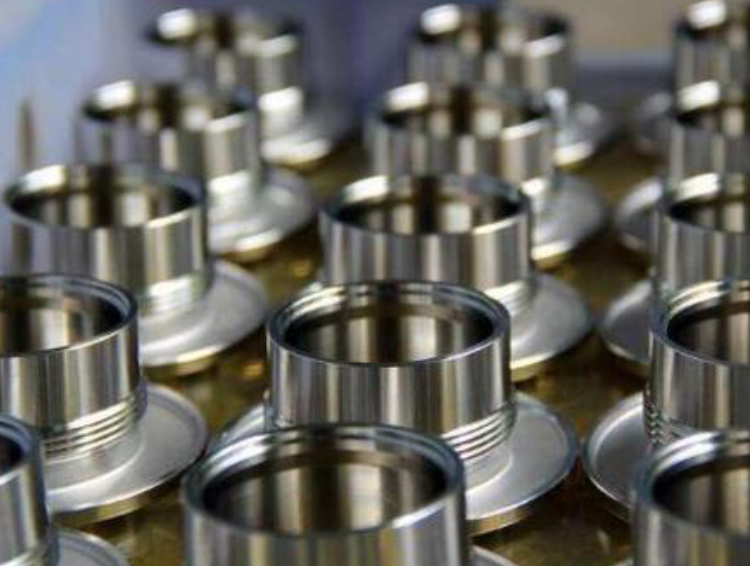
Machine vision hardware parts appearance defect detection
In the field of modern industrial manufacturing, the appearance and size of precision parts have extremely high requirements, aerospace, aviation, auto parts, electronic products and other fields, the performance of parts problems will affect the normal operation and use of functions.
In recent years, the rapid development of machine vision inspection technology has improved advanced science and technology for industrial automation production to effectively ensure product quality, machine vision inspection to help the production line achieve online real-time detection, measurement and automatic identification functions to improve efficiency and reduce factory costs, so as to maximize production benefits.
Therefore, machine vision inspection technology is widely used in the size detection of hardware accessories, surface defect detection, character recognition detection and so on.
Detection types include: crack, head text/shape, length, diameter, screw and nut with or without teeth, inner and outer diameter of the screw, tooth distance, tooth Angle, bottom shape, bending, height/width/thickness of multiple segments, chamfer/Angle, number of teeth, surface characteristics, surface defects, marks, surface defects, etc.
Size detection: Measurement and inspection of the length, width, diameter, hole distance, inner and outer diameter, tooth distance and other dimensions of hardware accessories.
Surface defect detection: scratches, scratches, pits, defects, cracks and other defects on the surface of hardware accessories.
Machine vision hardware parts appearance defect detection
1. Detection of internal screw defects
Cylindrical screw, affected by the curved surface, the conventional lighting method can only tilt the camera lens to see a small part of the defect, requiring multiple photos or rotating the product. By adding a prism, the internal wall of the product can be divided into four parts, one image. The dome light diffuses more angles, and the illumination is uniform, which can increase the effective arc length of the shooting, so the combination of the dome light and the prism can shoot the defects more clearly.
2, hardware copper sheet appearance detection
The middle of the product is a silver-white metal, surrounded by plastic film, with a large zero ring light can avoid the reflection around the middle of the metal surface to form a bright field, the defect because of light diffusing black, in sharp contrast with the surface.
3, hardware needle detection
The pin of the hardware is conical, and the light falling vertically is converted into a multi-angle uniform light shining mainly from low and medium angles, so as to avoid light shining on the cone while striking the tip of the needle, more prominent the tip of the needle, and reduce the difficulty of image processing.
-
Service hotline
19926638772


