Hardware parts machine vision inspection details revealed!
Metal stamping parts refer to the use of external pressure to make the metal produce separation or plastic deformation, so as to obtain the workpiece. In the production process of stamping parts, there will inevitably be some bad problems, must be inspected, qualified before packing, delivery. The traditional manual detection method is slow, low precision, and prone to misdetection and missing detection problems. The use of machine vision inspection technology for metal stamping parts appearance defect detection is a better solution.
Common metal stamping parts appearance defect problem
The variety of metal stamping parts is rich, the shape is messy, in the stamping production, there are often some bad defects, common such as: Impurities, pressure damage, burrs, deformation, rust, oxidation, stains, scrapes, scratches, pits, bumps, defects, leakage, dandruff, cracking, offset, inconsistent size, poor shape, wrinkles, hole deviation, less holes, inconsistent aperture, broken printing, missing printing, engraving/printing is not clear, etc.
Traditional method of appearance defect detection
The traditional method of detecting the appearance defects of metal stamping parts is that workers judge whether there are any defects on the surface by looking at it with their eyes and touching it with their hands, and put the metal stamping parts on the gage for geometric size measurement. Without the gage, conventional tools are used, such as vernier calipers, gap ruler, steel plate ruler, box ruler, Angle meter, etc.
This detection method detection efficiency is relatively low, after all, people's energy is effective, in the repeated mechanized work will be easy to fatigue, unable to work for a long time. Moreover, the inspection standards of each worker cannot be completely consistent, which will also affect the detection results and accuracy.
Application of machine vision inspection technology in metal stamping parts appearance defect detection
Through machine vision inspection equipment to replace the human eye to measure the size of the product, surface defects, etc. When the product is photographed, the system will automatically identify the image features, analyze and calculate the feature information of the stamping workpiece, determine whether the product meets the requirements, and output the control signal. The testing process is fully automated, automatic feeding, automatic detection, automatic sorting, automatic cutting, reducing the input of labor costs.
Test case
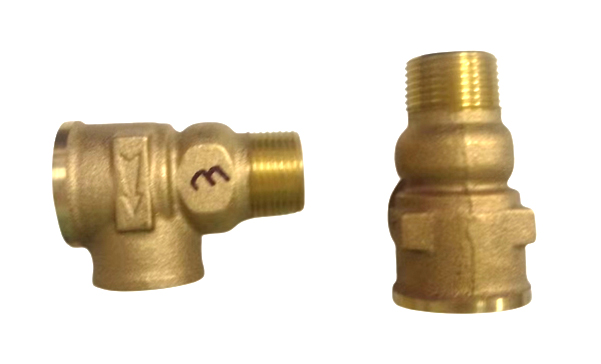
Test product
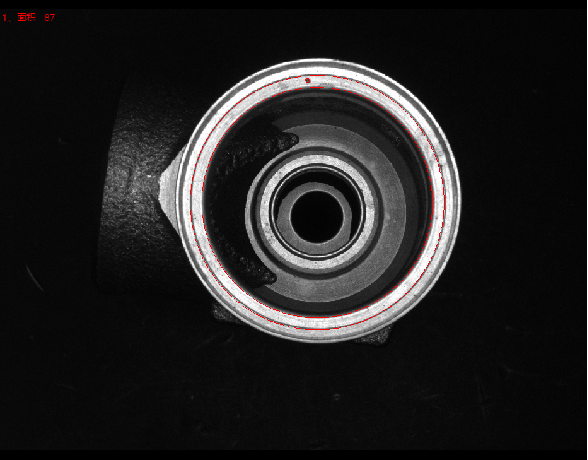
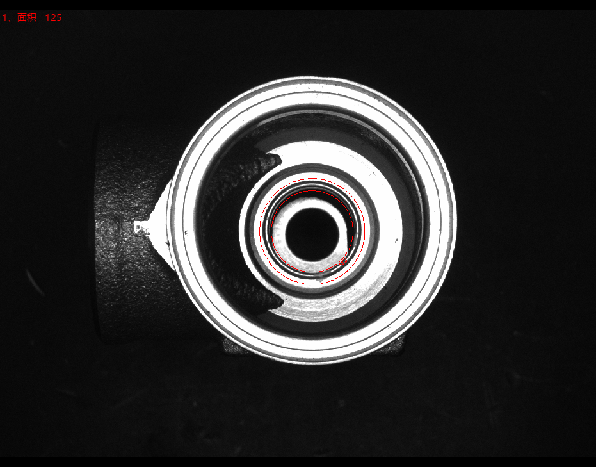
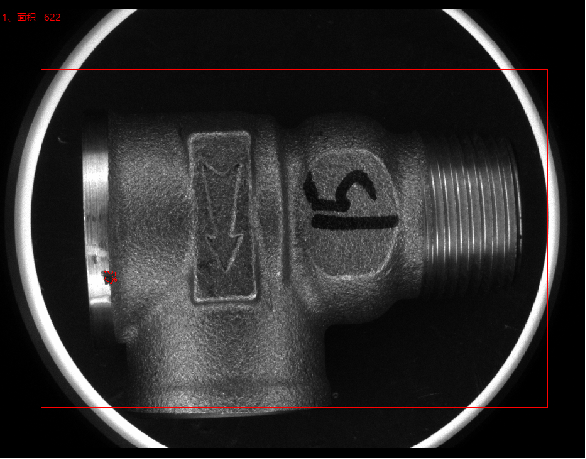
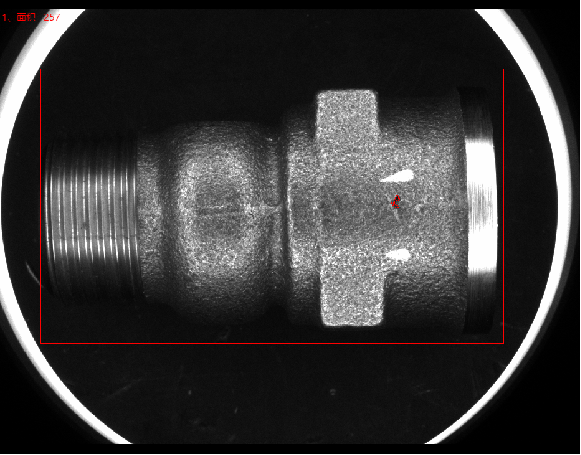
Inspection requirements: Inspection of the appearance and size of the product, the appearance of the inner hole surface, the outer periphery of the upper half, the outer periphery of the upper half, the top hole surface, and the side hole surface.
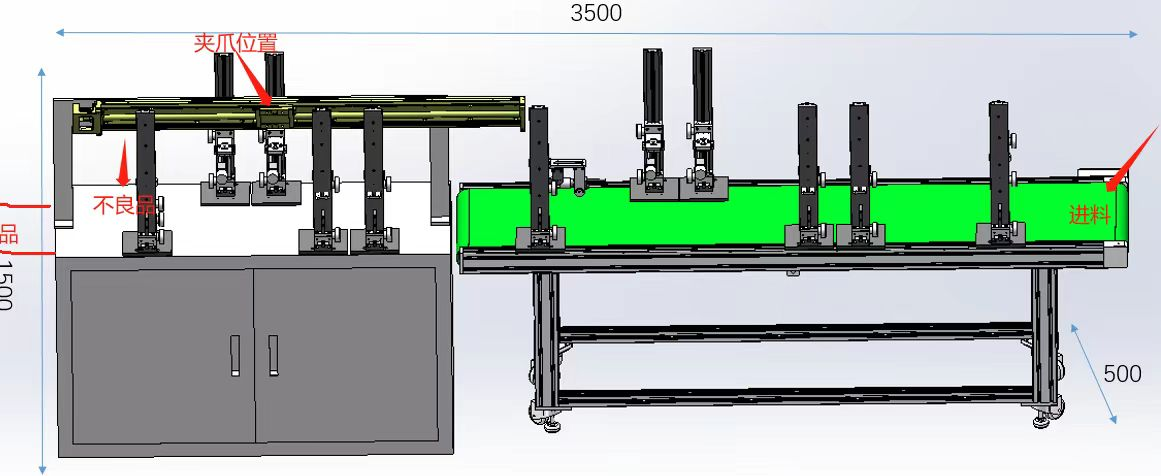
Testing equipment
Non-standard customized pipeline visual inspection equipment
Equipment composition
Visual inspection software: SIPOTEK
Industrial computer: Custom made by SIPOTEK
Display: PHILIPS 22 "LCD display
Industrial camera: black and white camera
Camera module: customized by SIPOTEK
Industrial lenses: Custom lenses
Industrial light source: Custom light source
Detection platform: SIPOTEK customized framework
Control system: customized by SIPOTEK
Detection effect
Trachoma detection, underpouring detection, crack detection, bruise detection
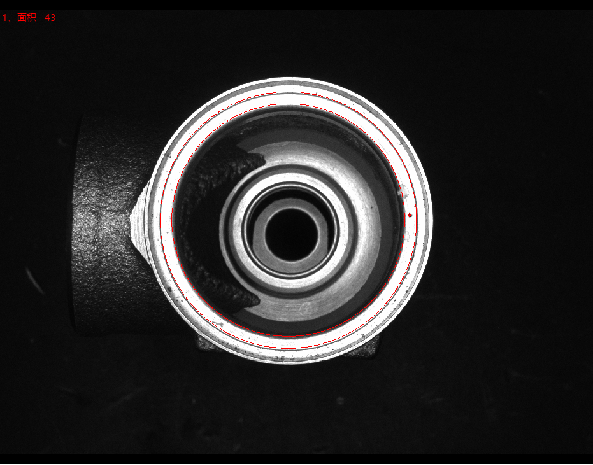
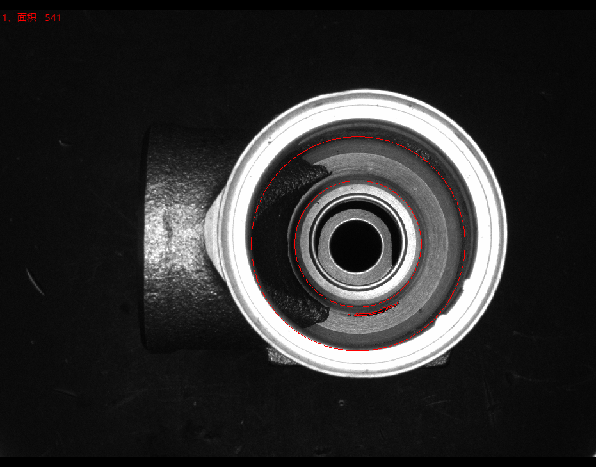
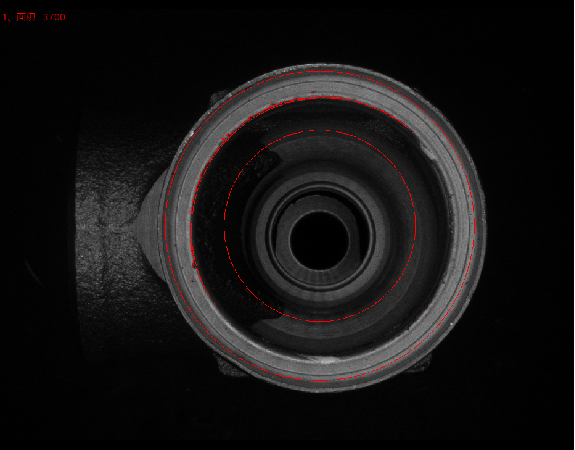
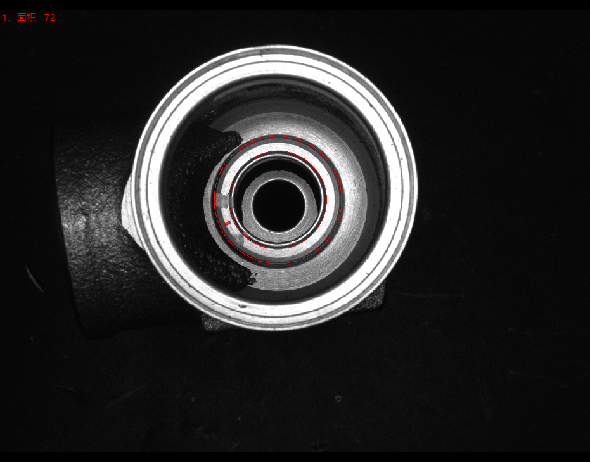
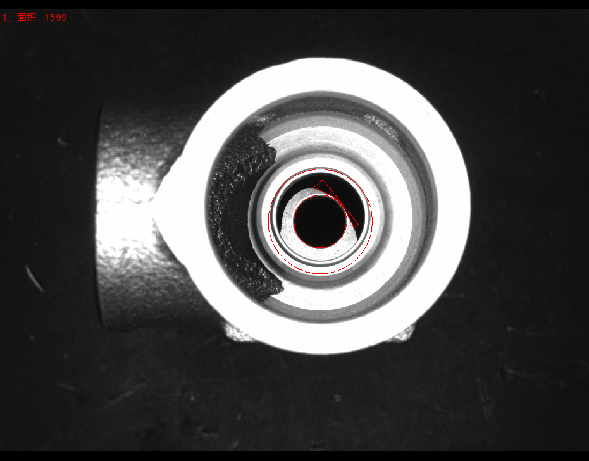
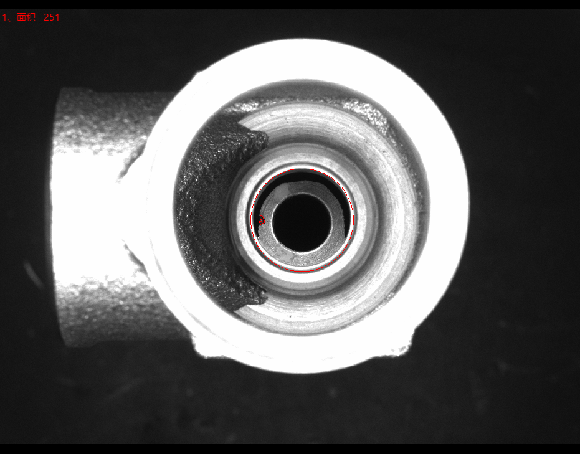
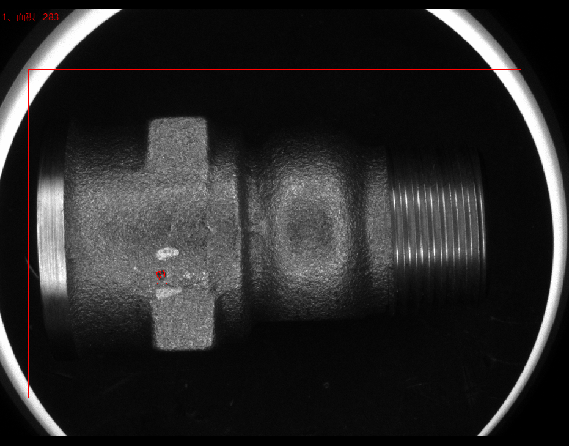
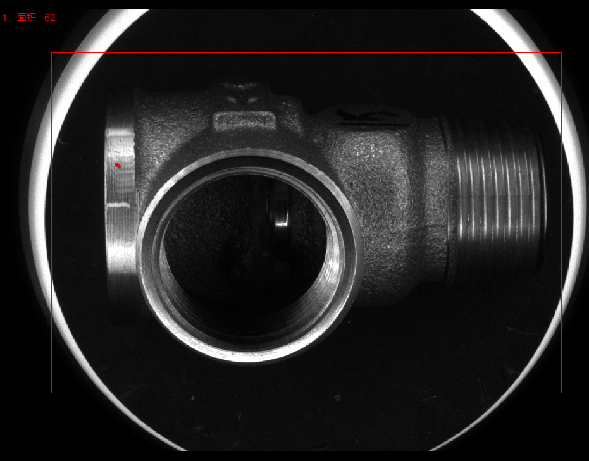
-
Service hotline
19926638772

