[Application Case] Visual inspection of appearance defects of hardware parts
3D vision inspection equipment can provide comprehensive and accurate product inspection and measurement.
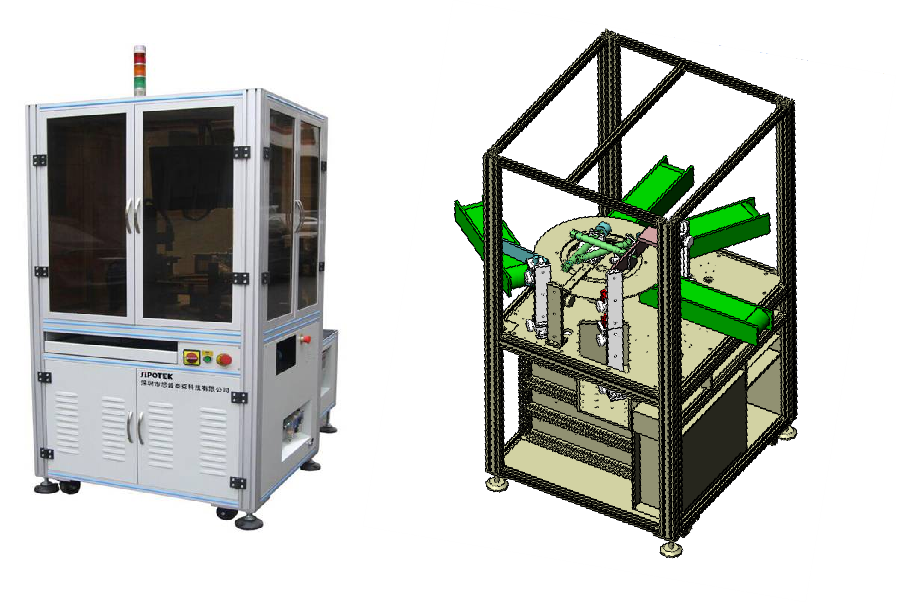
Euipment principle
The principle of the equipment combines optical imaging, image processing and algorithmic computing technology, so that the 3D vision inspection equipment can obtain the three-dimensional information of the object, and achieve accurate three-dimensional measurement and analysis. The choice of visual inspection technology depends on the specific application scenario and requirements.
Technical index
Stereo vision: The ability to capture and analyze the three-dimensional shape and structure of an object, which is visually closer to human eye observation.
High precision: Measurement accuracy of 0.001mm micrometer can be achieved.
High speed: real-time detection and measurement, efficiency up to 200-1000/ min.
Flexibility: Can be customized to meet different production needs.
System function
Parts quality inspection: used to detect surface defects, dimensional accuracy, assembly quality, etc.
Product assembly: can assist in the accuracy and integrity of product assembly to ensure the correct assembly of parts.
Product compatibility: Used to test whether the shape and size of the product meet the design requirements to ensure that the products fit each other.
Product packaging: It can be used to check the shape, size and integrity of packaging containers to ensure that product packaging meets standards.
Workpiece 3D scanning: Realize 3D scanning and measurement of the workpiece, aid design and manufacturing.
Equipment characteristics
Comprehensiveness: It can not only detect surface defects, but also provide three-dimensional information about the whole product.
High efficiency: Complete 3D measurement and detection of a large number of products in a short time, improve production efficiency.
Accuracy: With three-dimensional measurements, the size, shape and structure of the product can be analyzed more accurately.
Test object display
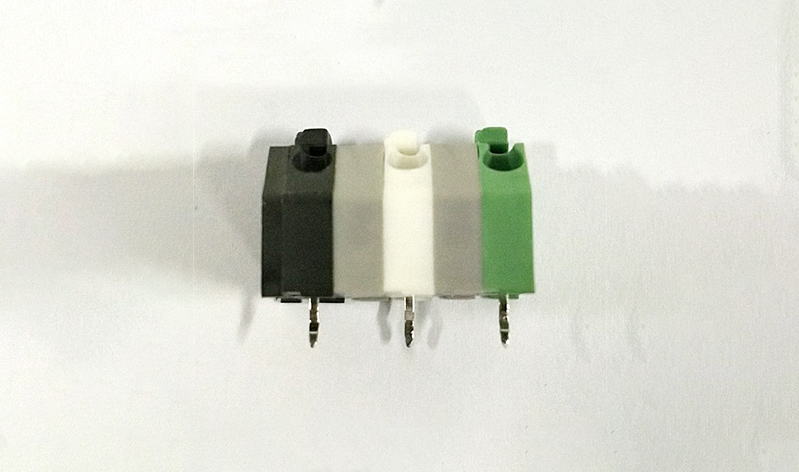
Measuring object size
Appearance inspection of products with size length 15mm* width 6mm* height 10mm
Detection efficiency
No less than 200 pieces per minute (depending on product feed speed)
3D profile scanning can quickly identify surface defects
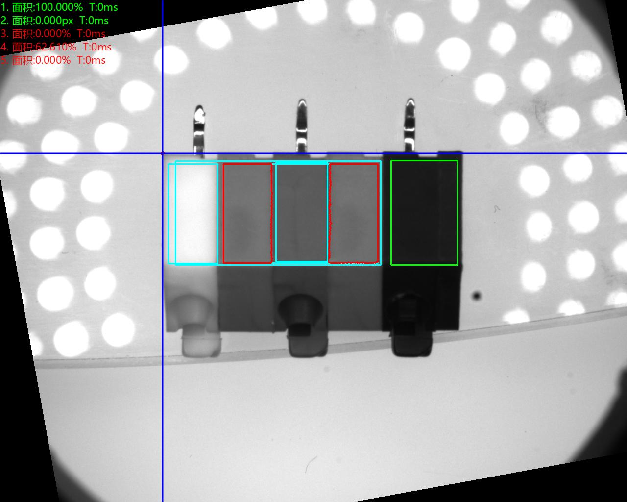
Bottom positive light detection image
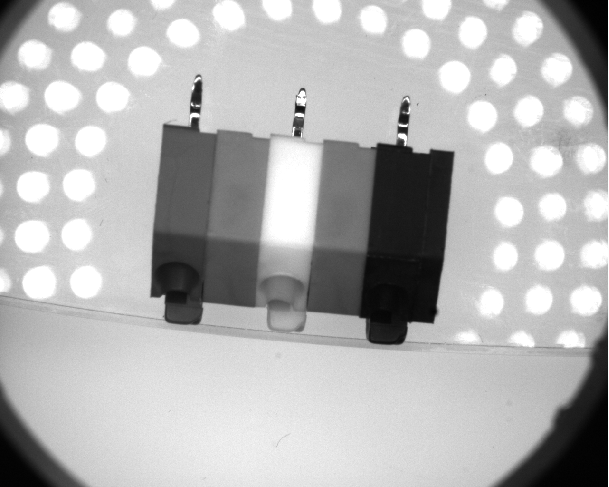
Bottom positive light detection good product analysis diagram: OK
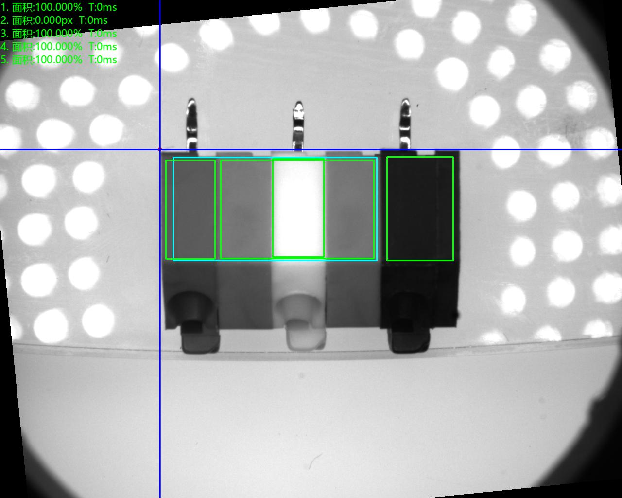
Bottom positive light detection of defective products analysis diagram: NG bad reason: color mixed.
-
Service hotline
19926638772

