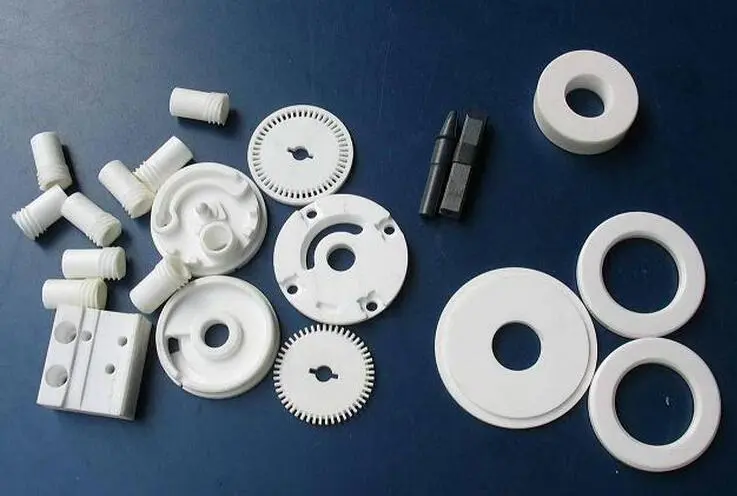
[Application Case] Visual inspection of ceramic parts
The visual inspection of ceramic appearance is a process that uses visual technology to detect and evaluate the appearance quality of ceramic products.
Equipment characteristics
High-precision detection: through high-resolution image acquisition equipment and precision algorithms, it can realize the accurate detection of defects, defects, cracks and other appearance of ceramic products.
Multi-view inspection: Inspection can be carried out from multiple angles and light sources to ensure a comprehensive assessment of the appearance quality of ceramic products.
Automated inspection: Ceramic appearance inspection can be carried out with the help of automated equipment to improve inspection efficiency and accuracy.
Fast feedback: Support the rapid generation of inspection reports and results feedback to help production personnel adjust the production process in time.
Data analysis: Analysis and statistics of test data can be carried out to provide basis for quality management and production optimization.
Application field
Ceramic manufacturing: Used for ceramic tiles, ceramic tableware, ceramic crafts and other ceramic products appearance quality inspection.
Construction industry: Applied to the appearance inspection of building ceramic materials to ensure product quality and appearance consistency.
Home decoration: Used for the appearance quality inspection of ceramic home decoration products to ensure the perfect appearance of products.
Art manufacturing: applied to the appearance inspection of ceramic artworks to ensure the quality and appearance of artworks.
The visual inspection technology of ceramic appearance is helpful to improve the appearance quality and production efficiency of ceramic products, and reduce the rate of defective products.
Test item
The above detection items need to be clearly visible under the image to detect.
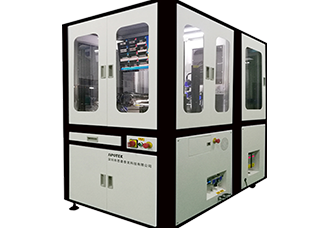
Equipment composition
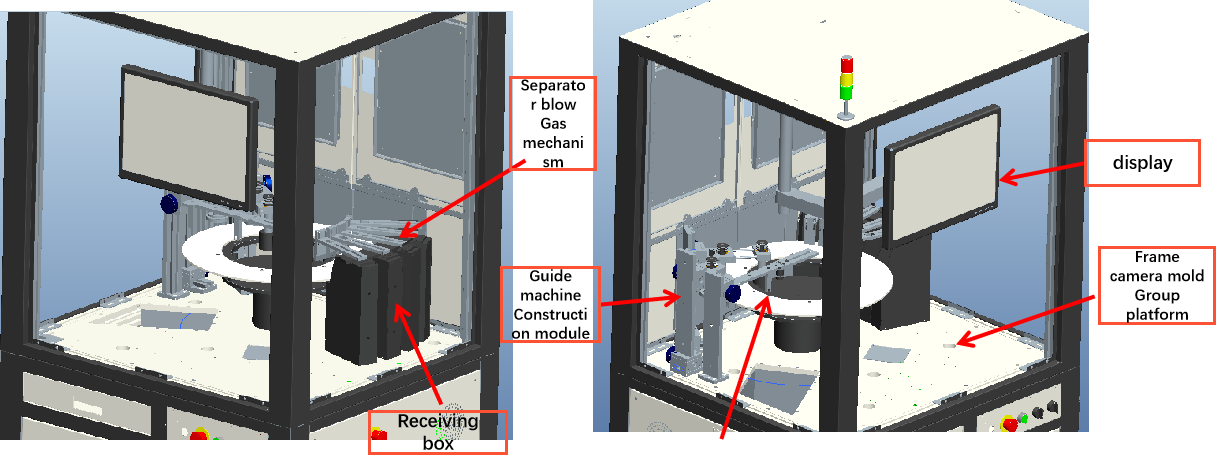
Introduction to the loading path

The discharge port is 800mm from the ground.
Two outlet, each material channel inside the maximum 90x90mm, the maximum size of the applicable product: 50-90mm.
Three discharge ports, each material channel empty 64x64mm, the maximum size of the applicable product: 1-50-64mm.
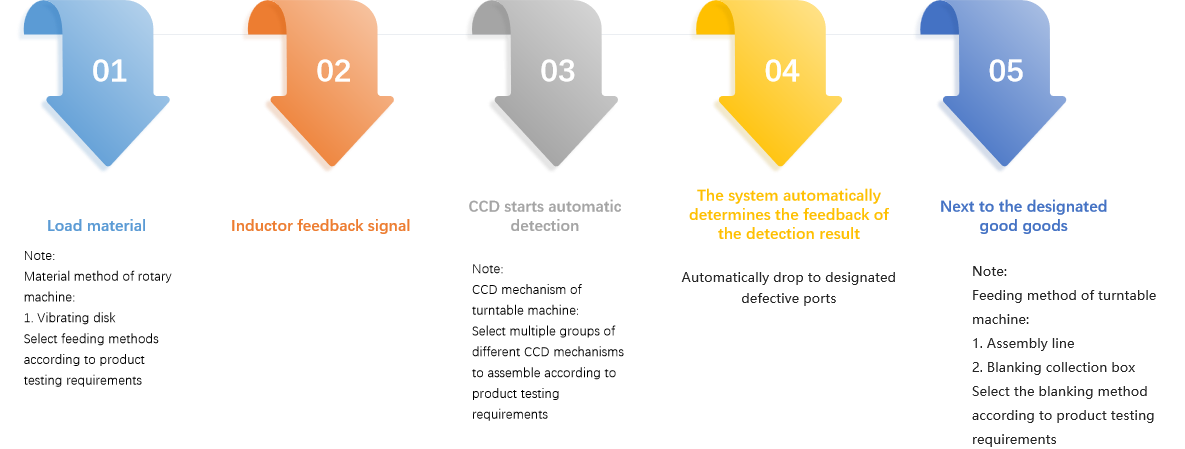
Equipment flow
【 Detection effect 】
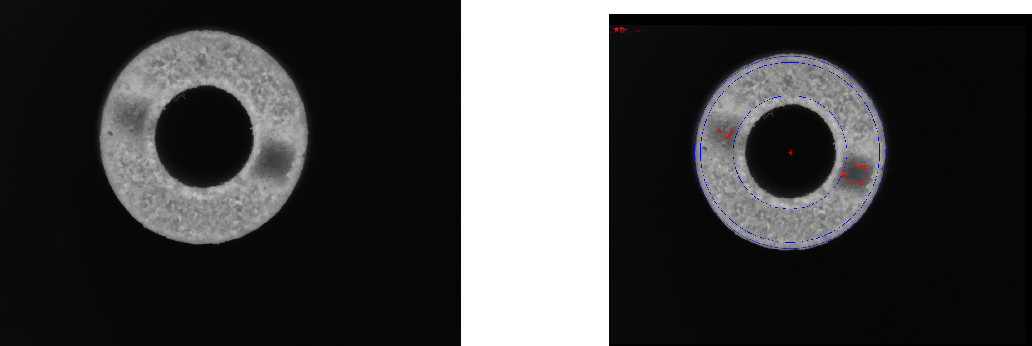
Top and bottom positive light detection of defective products analysis chart: OK

Top and bottom positive light detection of defective products analysis diagram NG Bad characteristics: lack of material

Bottom positive light detection of defective products analysis chart: OK

Bottom positive light detection of defective products analysis diagram: NG bad feature: convex material
Top backlight detection bad product analysis diagram: OK circle inside and outside diameter good product analysis diagram
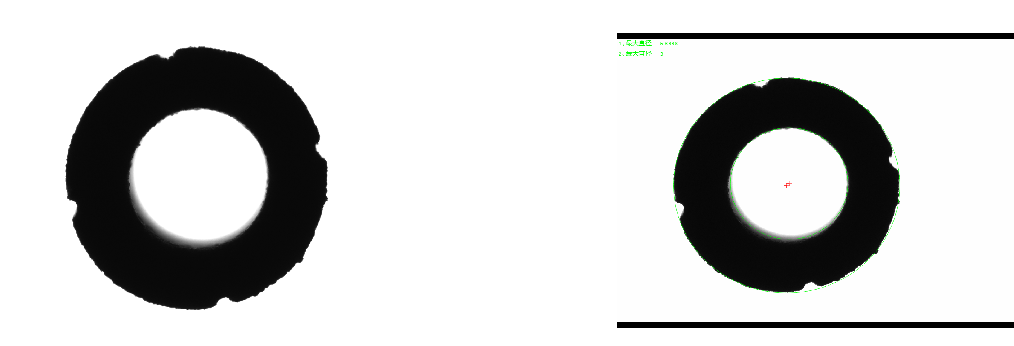
Top backlight detection bad product analysis diagram: OK circle inside and outside diameter good product analysis diagram

Side backlight plus positive light detection of defective products analysis diagram: NG Bad feature: dirty

Side backlight plus positive light detection of defective products analysis diagram: NG Bad feature: lack of material

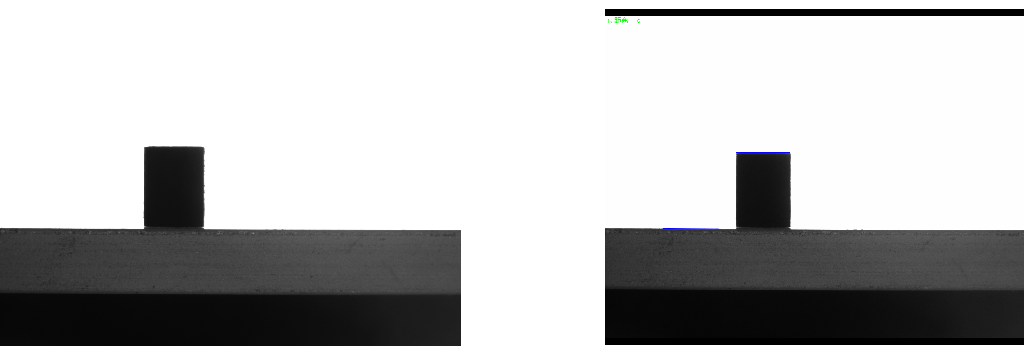
Side backlight detection defective product analysis chart: OK total good product analysis

Side backlight detection defective product analysis chart: OK total good product analysis
-
Service hotline
19926638772

